spensense
by Deepak Rai
Deepak RaiBuild a mobile app: I want to build an expense tracker app named as SpenSense this app will track my daily expenses on what i am spending like groceries travelling week ends trip and electricity and furniture and all the other things and also i want to keep a category of savings i will set a budget for savings so that amounnt i ll not be spending until its an emergency and i need the app to be well looked the complete theme should be green and white the first look of the screen should have the name of my app and the logo and down there will be proceed to login button or bar then the login user interface then its upto u

Comments (0)
Sign in to leave a comment
Project Tasks
15 planning tasks#1
Generate system requirement document
1m 16s0.1 cr used
Done#2
Generate personas & user flows
0m 6s0.1 cr used
Done#7
Create flow for Expense Tracker (Spen Sense user)
0m 6sCredits in parent
Done#8
Landing
5m 16sCredits in subtasks
Done#14
Landing / Welcome Field
0m 33s0.8 cr used
Done#15
Landing / Login Sheet
0m 33s0.8 cr used
Done#16
Landing / Footer
0m 16s0.8 cr used
Done#17
Footer
0m 16sCredits in parent
Done#9
Login
Credits in subtasks
Backlog#10
Dashboard
Credits in subtasks
Backlog#11
Expenses
Credits in subtasks
Backlog#12
Add Expense
Credits in subtasks
Backlog#13
Savings
Credits in subtasks
Backlog#5
Architecture
0.1 cr needed
Backlog#6
Workspace task plan
0.1 cr needed
BacklogPreview dataChanges stay in this preview.
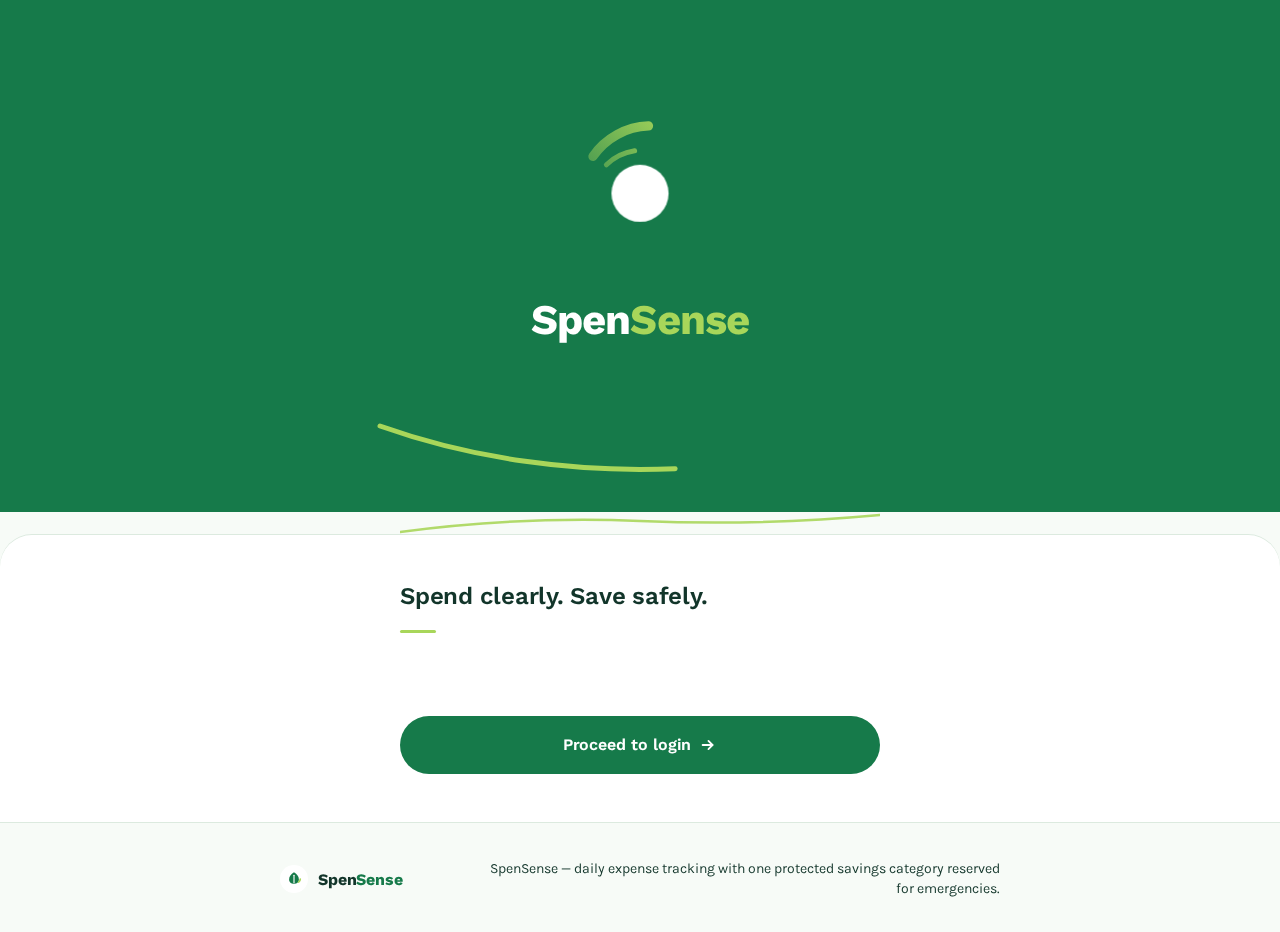
SpenSense
Spend clearly. Save safely.
Preview dataChanges stay in this preview.
SpenSense
Spend clearly. Save safely.
No comments yet. Be the first!