noble-banner
 Sitaraman Ramasamy
Put banner as signboard on gate



Comments (0)
Sign in to leave a comment

Install Your Noble Banner with Confidence
Follow our step-by-step guidance to securely mount your custom banner on metal or wooden gates — engineered for Malaysia's tropical climate with every detail covered.
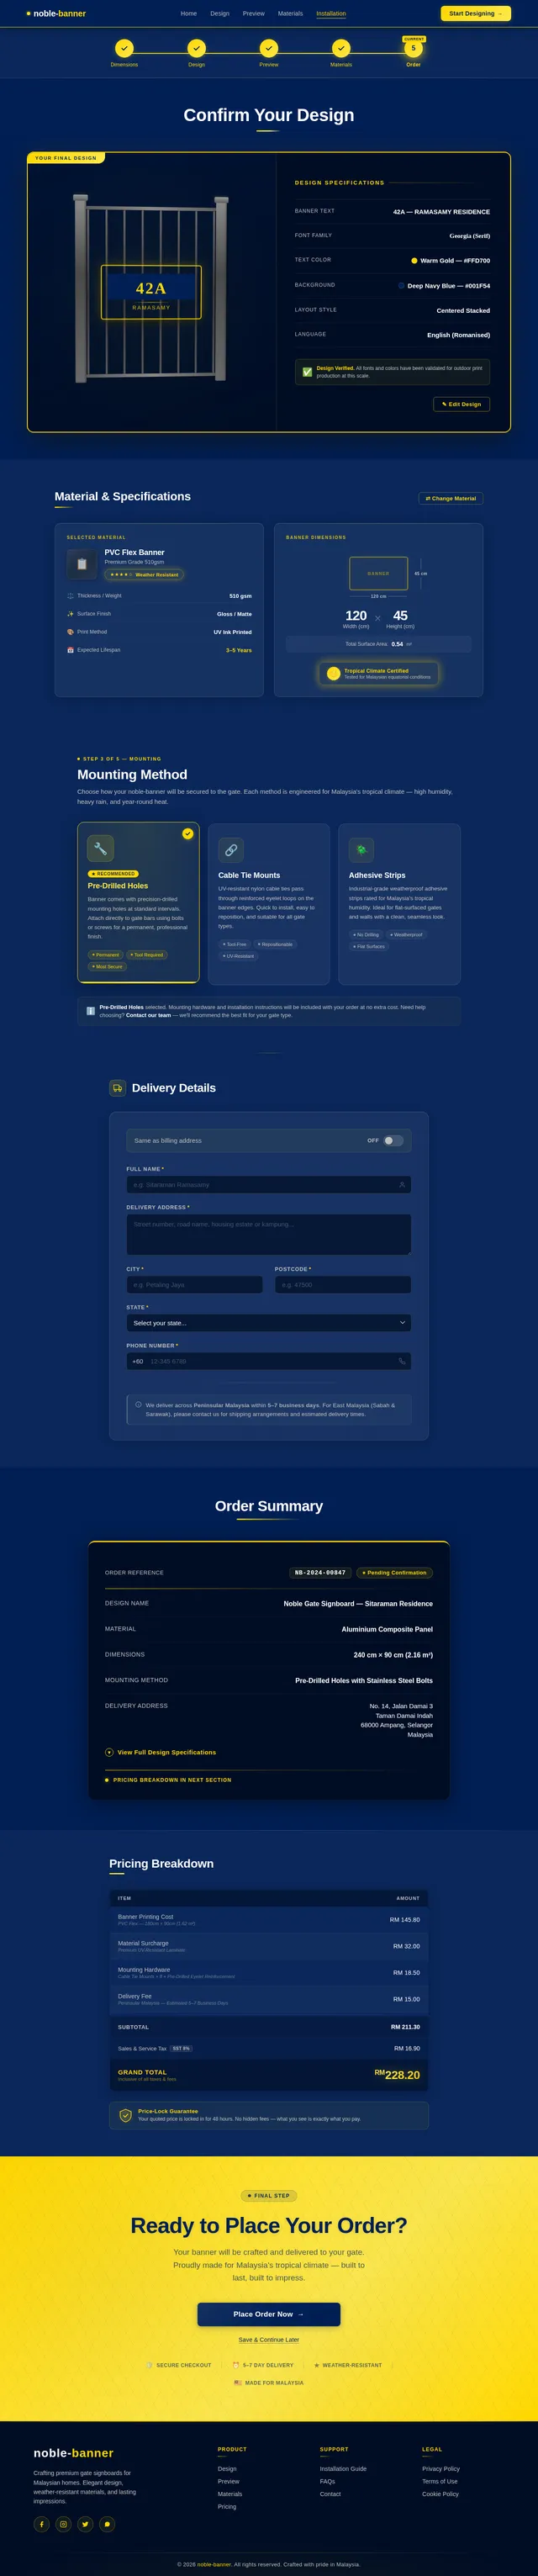
Your Banner Specifications
What You'll Need
Tick off each item as you gather it — your progress is tracked below
Select Your Gate Type
Choose the gate material to receive tailored mounting instructions and screw specifications.
Metal Gate
Hollow or solid steel and aluminium gate frames. Requires self-tapping screws and pilot holes drilled into the metal substrate.
Wooden Gate
Timber or composite wood gate panels. Uses wood screws with sealant to protect against Malaysia's high humidity and tropical rainfall.
Metal Gate Recommendation
Use M5 x 30mm stainless steel self-tapping screws with rubber washers to prevent galvanic corrosion. Recommended spacing: 300mm centres along the top and bottom rails. Pre-drill pilot holes at 3.5mm diameter to avoid splitting or burring the hollow section.
Step-by-Step Installation Guide
Follow each step carefully to achieve a professional, weather-resistant mount for your noble-banner on any gate type.
Step 01
Measure & Mark Mounting Points
Using your measuring tape, identify the four corner positions where the banner grommets align with the gate frame. Mark each point with a pencil or chalk. Ensure even spacing — standard noble-banner layouts use 150mm from each corner edge. Double-check symmetry horizontally and vertically before proceeding.
Step 02
Drill Pilot Holes into Gate Frame
Select a drill bit 0.5mm smaller than your screw diameter (typically 4.5mm for M5 screws). Drill at each marked point to a depth of 25–30mm. For hollow-section metal gates, reduce depth to 15mm and use self-tapping screws. Clear all swarf and metal debris before inserting anchors.
Step 03
Align Banner Using Level
With a helper holding the banner in position, place your spirit level along the bottom edge of the banner. Adjust until the bubble centres exactly. For banners wider than 900mm, check level at both the left and right thirds independently. Lightly tape two corners in place before committing to the final screwing position.
Step 04
Secure with Screws and Rubber Washers
Insert the included rubber washer onto each screw before driving. The washer creates a weatherproof seal and prevents metal-on-banner contact that causes grommet wear. Drive screws by hand (not power-drill) for the final turns to avoid over-tightening. Torque should feel firm but with slight give — the banner needs micro-flexibility in wind.
Step 05
Final Check & Tighten
With the banner fully mounted, step back 3 metres and visually inspect: check for any sagging (indicating a loose corner), verify the banner sits flush with no folded edges, and confirm all four screws are flush with the washers. Gently tug each corner with 2kg of force — no movement should occur. The installation is complete.
Material Handling Reference
Understand the properties and care requirements of each banner material to ensure a safe, professional installation on your gate.
PVC Flex Banner
Handling Notes
Lightweight and flexible. Roll from the edges inward to avoid crease lines. Store flat or rolled on a 3″ core tube. Avoid sharp folds. Clean with damp cloth — no solvents.
Aluminium Composite
Handling Notes
Rigid panel with aluminium face and polyethylene core. Handle with gloves to prevent surface scratching. Transport vertically or flat. Pre-drill with HSS bit before any fastening.
Vinyl Mesh
Handling Notes
Perforated mesh allows wind pass-through, ideal for high-exposure gate installations. Tension evenly across all eyelets. Use rubber-backed grommets to prevent tearing at stress points.
Installation Guidance
Safety & Weather Readiness
Safety First
Wear Protective Gloves — banner edges and mounting hardware may be sharp. Puncture-resistant gloves are recommended throughout the installation.
Never Install During Rain — wet gate surfaces and tools create slip and electrocution hazards. Wait for a dry weather window of at least 2 hours.
Verify Load-Bearing Capacity — confirm the gate frame can support the banner weight before drilling. Aluminium Composite banners may require additional anchor points.
Use Eye Protection — drilling into metal gates produces metal shavings. Safety goggles are mandatory when operating the drill.
Secure a Second Person — have an assistant hold the banner in position during alignment. Do not attempt single-handed installation on gates above 1.5m height.
Weather Readiness
Seal Against Monsoon Rain
Malaysia receives 2,400– 3,000mm of rainfall annually. After installation, apply a weatherproof edge sealant along all banner borders to prevent water ingress and delamination.
UV Exposure Protection
Equatorial UV index regularly reaches 11–12 in Malaysia. Ensure your banner has a UV-laminated finish. PVC Flex and Aluminium Composite banners include a UV-resistant coating rated for 5+ years outdoors.
Humidity & Mould Resistance
Average humidity of 80–90% accelerates mould growth on porous materials. All noble-banner materials are pre-treated with anti-fungal coating. Avoid installing banners in direct contact with organic surfaces (e.g., untreated wood).
Post-Installation Weather Check
Inspect the banner after the first heavy rain to confirm all mounting points are secure and no water has pooled behind the banner face. Re-tighten any loosened screws within 48 hours.
Installation Complete!
Your noble-banner has been successfully mounted on the gate. Please conduct a final visual check from a distance to ensure proper alignment and secure fastening before closing up.
No comments yet. Be the first!