meta-assessment
 F(x) Data Labs Pvt Ltd
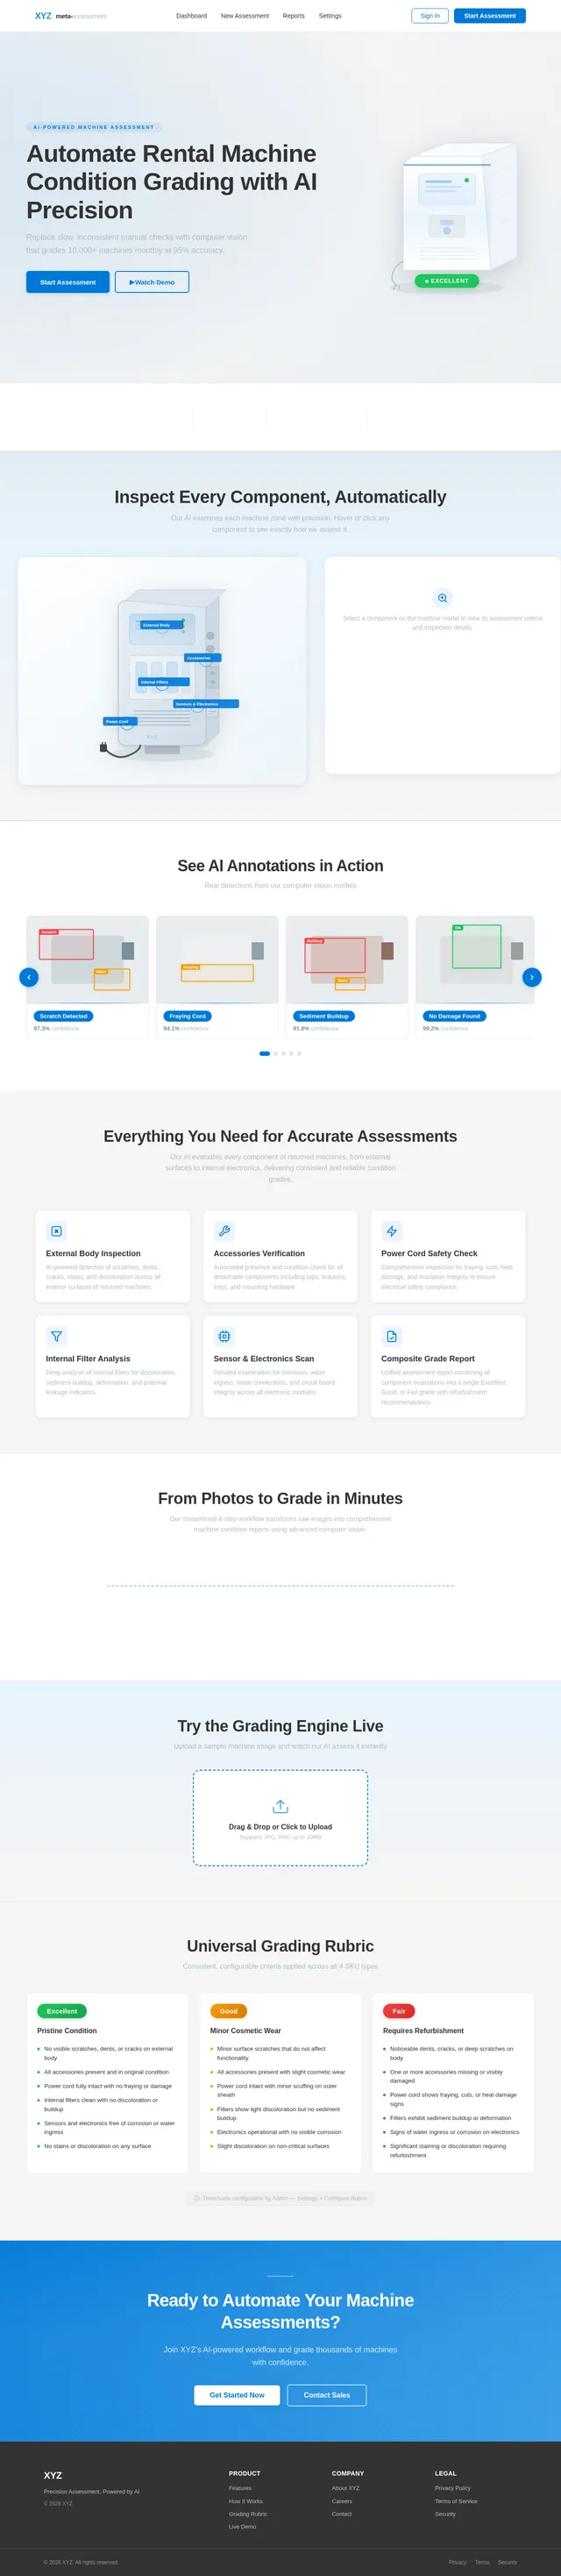
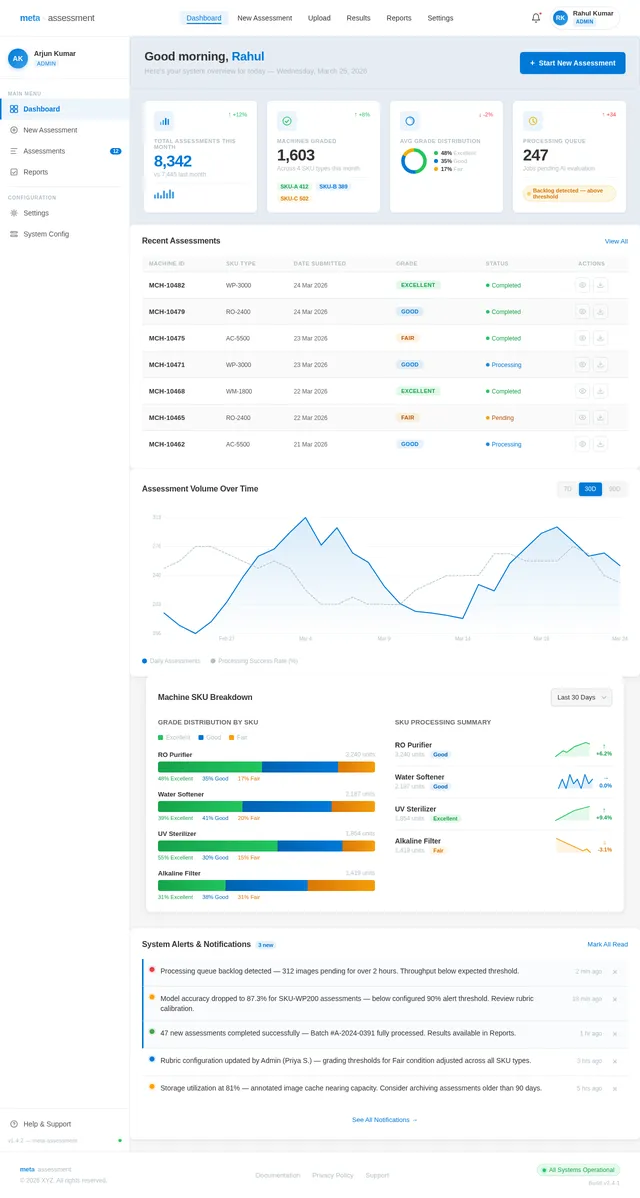
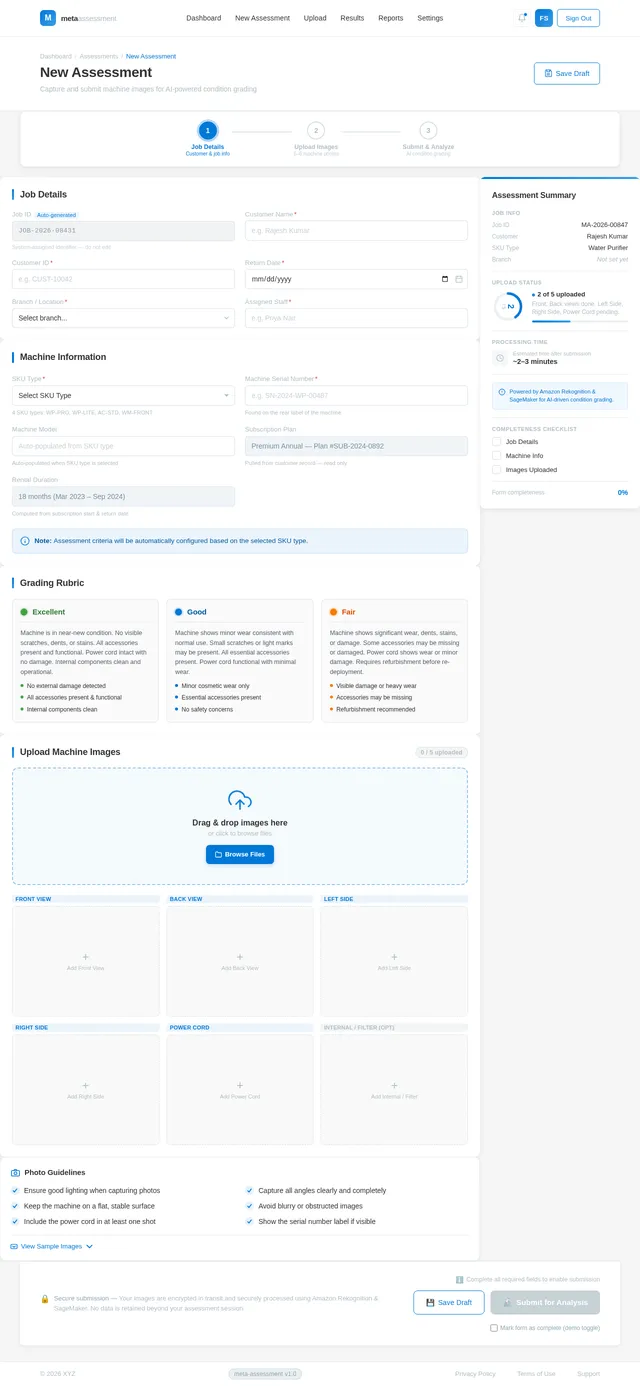
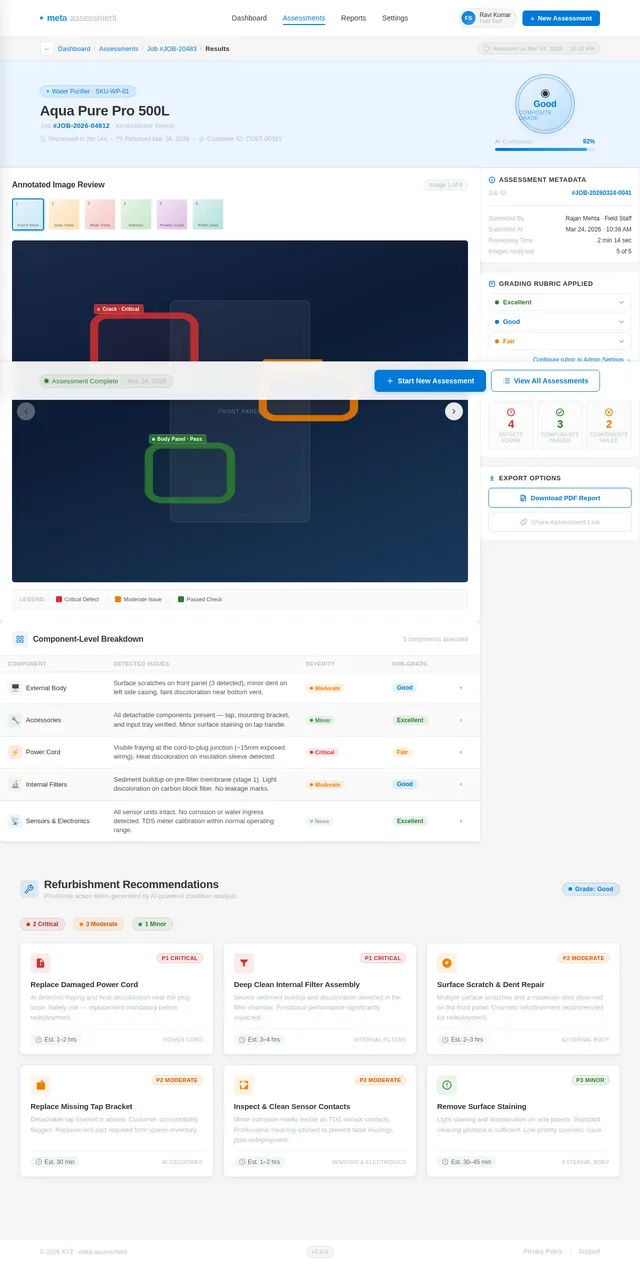
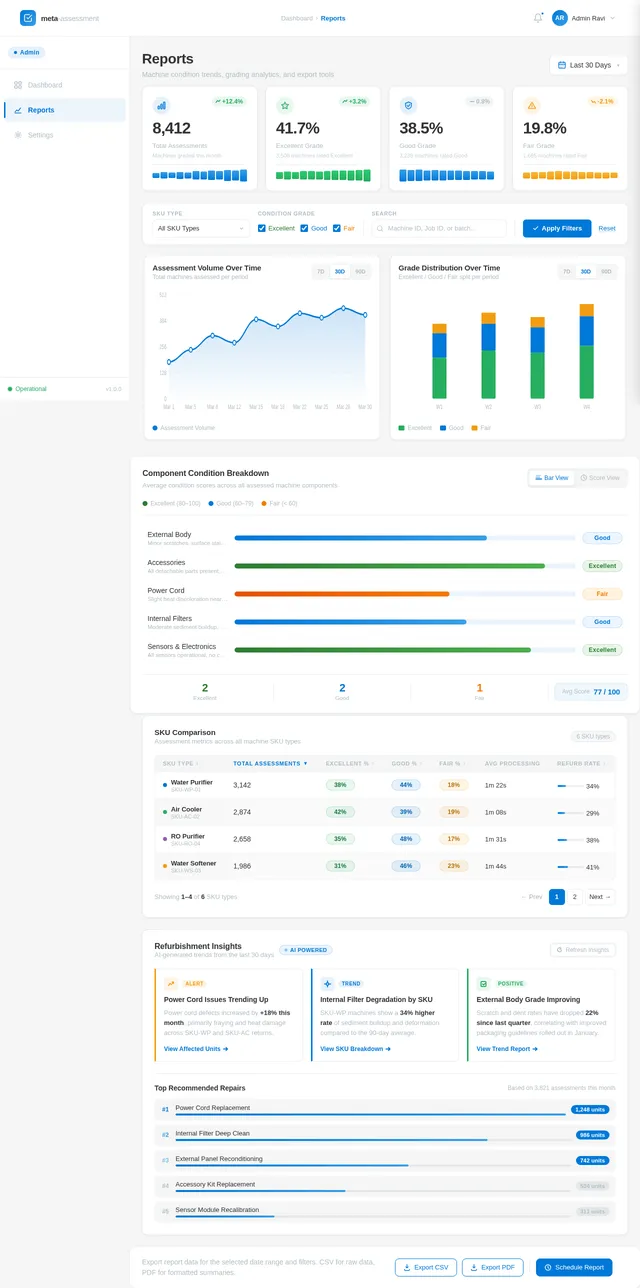
Use Case: Automated Rental Machine Condition Assessment The customer operates a subscription model where domestic appliances are deployed at customer homes. When machines are returned (cancellation, upgrade, relocation), they need to assess the condition to determine refurbishment eligibility, required repairs, and damage accountability. Current state: Manual assessment by warehouse staff — slow, inconsistent, and doesn't scale. What they need: An AI/CV system where end-users or field staff capture 5-6 photographs of the returned machine, and the system automatically evaluates: External body condition — scratches, dents, cracks, stains, discoloration Accessories — presence/absence and condition of detachable components (taps, brackets, trays) Power cord — fraying, cuts, heat damage, safety assessment Internal components & filters — discoloration, sediment buildup, deformation, leakage marks Sensors & electronics — corrosion, water ingress, loose connections The system should output a composite condition grade per machine with component-level breakdown, annotated images, and a refurbishment recommendation. Scale: 8,000 — 10,000 machines returned per month 5-6 images per machine (~50,000-60,000 images/month) 4 SKU types to assess Real-time or near-real-time processing required Relevant AWS services: Amazon Lookout for Vision, Amazon Rekognition Custom Labels, Amazon SageMaker, Amazon A2I, AWS Lambda, Amazon S3, Amazon QuickSight.


Comments (0)
Sign in to leave a comment
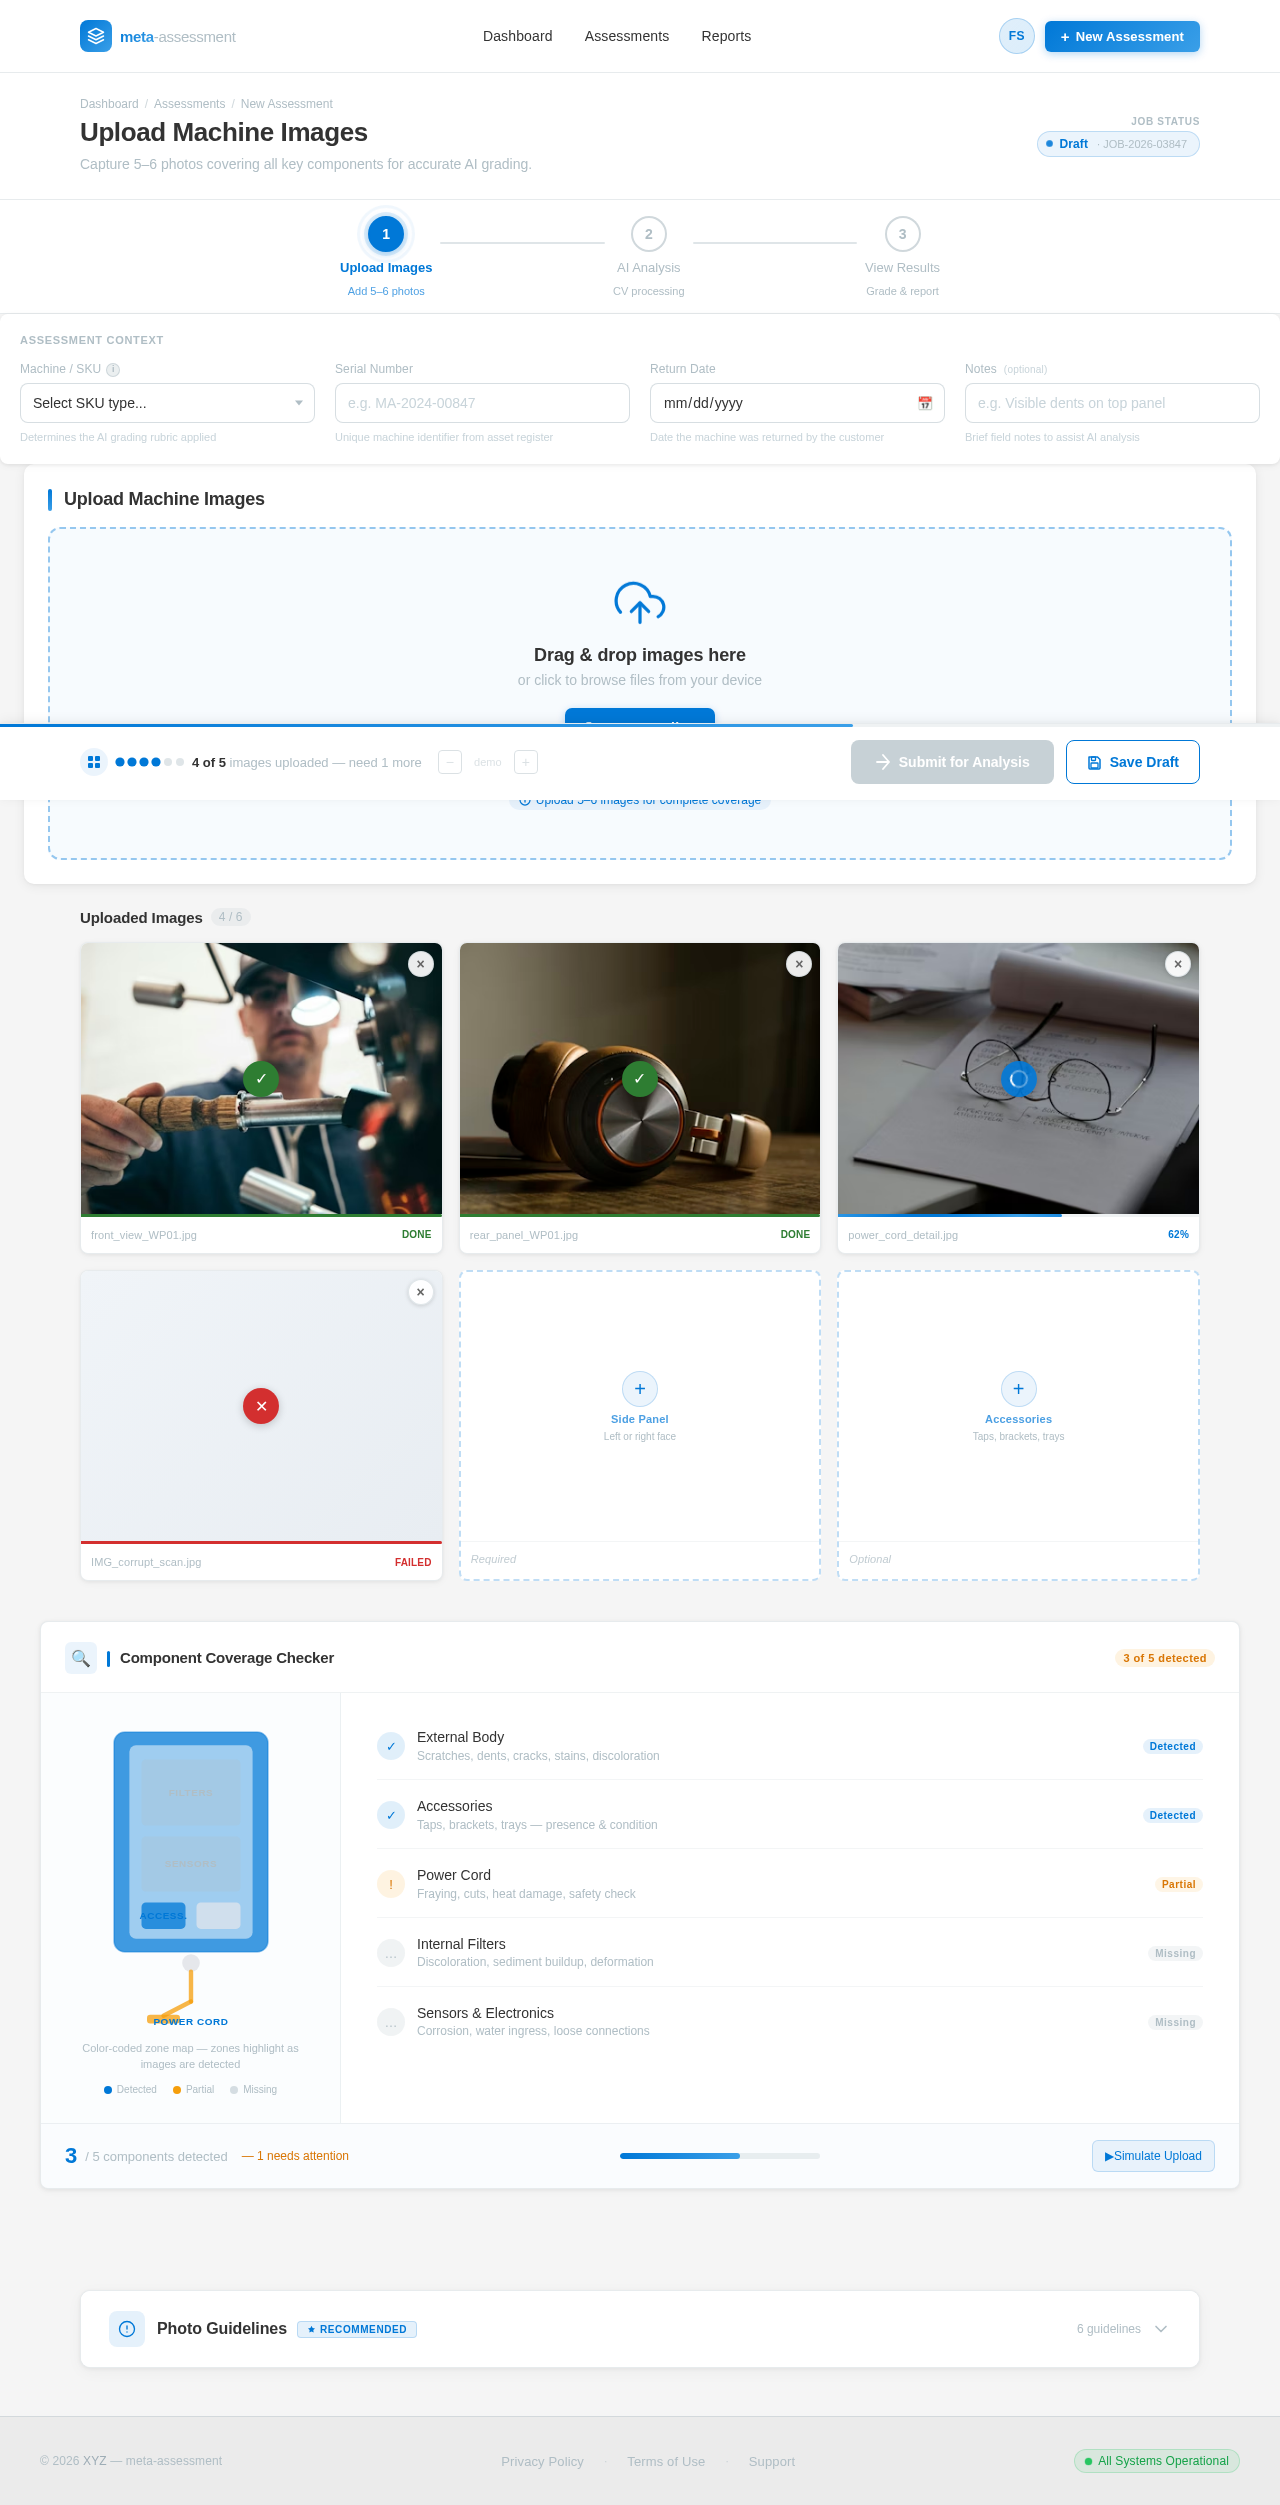
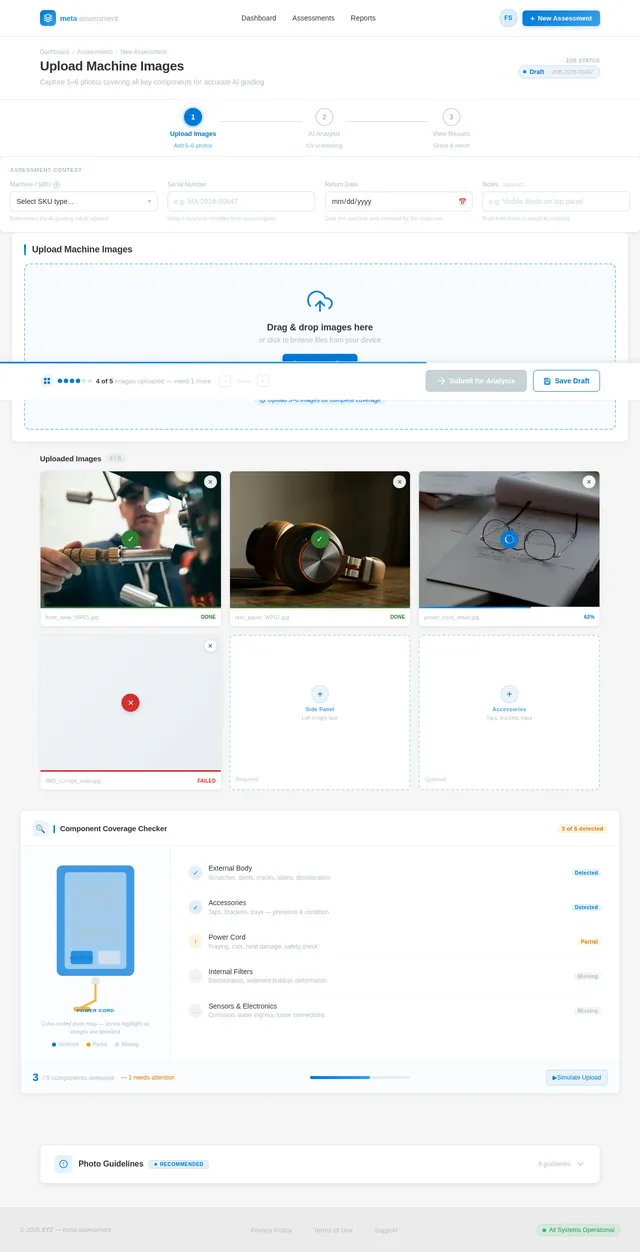
Upload Machine Images
Capture 5–6 photos covering all key components for accurate AI grading.
Assessment Context
Upload Machine Images
Drag & drop images here
or click to browse files from your device
Uploaded Images4 / 6


Component Coverage Checker
Color-coded zone map — zones highlight as images are detected
- ✓Detected
External Body
Scratches, dents, cracks, stains, discoloration
- ✓Detected
Accessories
Taps, brackets, trays — presence & condition
- !Partial
Power Cord
Fraying, cuts, heat damage, safety check
- …Missing
Internal Filters
Discoloration, sediment buildup, deformation
- …Missing
Sensors & Electronics
Corrosion, water ingress, loose connections
3/ 5 components detected— 1 needs attention
Follow these best practices when photographing returned machines. High-quality images improve AI detection accuracy, ensuring consistent grading across all 4 SKU types and reducing the need for manual re-inspection.
Good Lighting
Photograph in a well-lit area. Avoid harsh shadows or direct flash that can obscure surface defects.
Multiple Angles
Capture front, back, left side, right side, top, and base views to ensure all surfaces are assessed.
Clean Lens
Wipe the camera lens before shooting. Smudges reduce image clarity and can cause the AI to miss defects.
Steady Camera
Hold the device steady or rest it on a stable surface. Motion blur reduces detection accuracy significantly.
Close-Up Shots
For power cords, filters, and sensors, capture close-up photos showing the full component without cropping.
Avoid Obstructions
Remove packaging, covers, or accessories that obscure the machine body before photographing.
Pro tip: The AI model requires at least 5 images for a valid assessment. Include dedicated shots of the power cord and internal filter — these components have the highest variance across SKU types and directly influence the final Excellent / Good / Fair grade.
No comments yet. Be the first!