giant-rental
 Suresh Basnet
You are a senior full-stack engineer, product designer, and database architect. Build **Phase 1 only** of a production-quality multi-tenant SaaS web application called **RentalDesk**. RentalDesk is a mobile-first operating system for small equipment and party-rental businesses, such as bounce-house, table/chair, tent, AV, tool, photo-booth, and generator rental companies. In later phases, it will manage inventory availability, quotes, customer deposits, bookings, delivery/pickup jobs, check-in/check-out inspections, damage charges, late fees, refunds, and Stripe subscription billing. In this phase, build ONLY the foundation. # 1. Phase 1 goal By the end of Phase 1, a new user must be able to: 1. Sign up with email and password. 2. Log in, log out, and reset their password. 3. Create a rental business. 4. Become the owner of that business. 5. See a protected dashboard. 6. See the app navigation. 7. See empty-state screens for future modules. 8. Access only their own business data. 9. Never access another business’s data. Do not build any feature that is not explicitly listed below. # 2. Tech stack Use exactly this stack: - Next.js App Router - TypeScript - Tailwind CSS - shadcn/ui - Supabase for Postgres, Auth, Storage, and Row Level Security - @supabase/supabase-js - @supabase/ssr - Zod for validation - React Hook Form for forms - Vercel-ready deployment structure Use cookie-based Supabase Auth for Next.js App Router. Create separate Supabase clients for: - Browser/client components - Server components - Server actions / route handlers Never expose these values to the browser: - SUPABASE_SERVICE_ROLE_KEY - STRIPE_SECRET_KEY - STRIPE_WEBHOOK_SECRET - RESEND_API_KEY Use environment variables and provide a `.env.example` file. # 3. What to build in Phase 1 ## A. Project setup Create a clean, production-quality Next.js project with: - TypeScript strict mode - ESLint - Prettier - Tailwind CSS - shadcn/ui - Absolute imports using `@/` - A scalable folder structure - Reusable UI components - Consistent error and loading states - Mobile-first responsive layout Do not use unnecessary libraries. ## B. Authentication Implement Supabase Auth with email and password. Build these pages: 1. `/auth/sign-up` 2. `/auth/login` 3. `/auth/forgot-password` 4. `/auth/reset-password` 5. `/auth/callback` Requirements: - Email and password signup - Email confirmation flow if Supabase requires it - Login - Logout - Forgot password - Reset password - Redirect unauthenticated users away from protected routes - Redirect authenticated users away from login/signup pages - Show clear validation errors - Show loading states on all auth buttons - Disable submit buttons while submitting - Prevent duplicate form submission - Never reveal whether an email exists during password reset Use Supabase Auth’s built-in session handling. Do not build custom JWT handling. ## C. Business onboarding After signup, if the user does not have a business, redirect them to: ```text /onboarding/create-business

Comments (0)
Sign in to leave a comment
Architecture
No Services Diagrams Yet
RentalDesk operations desk
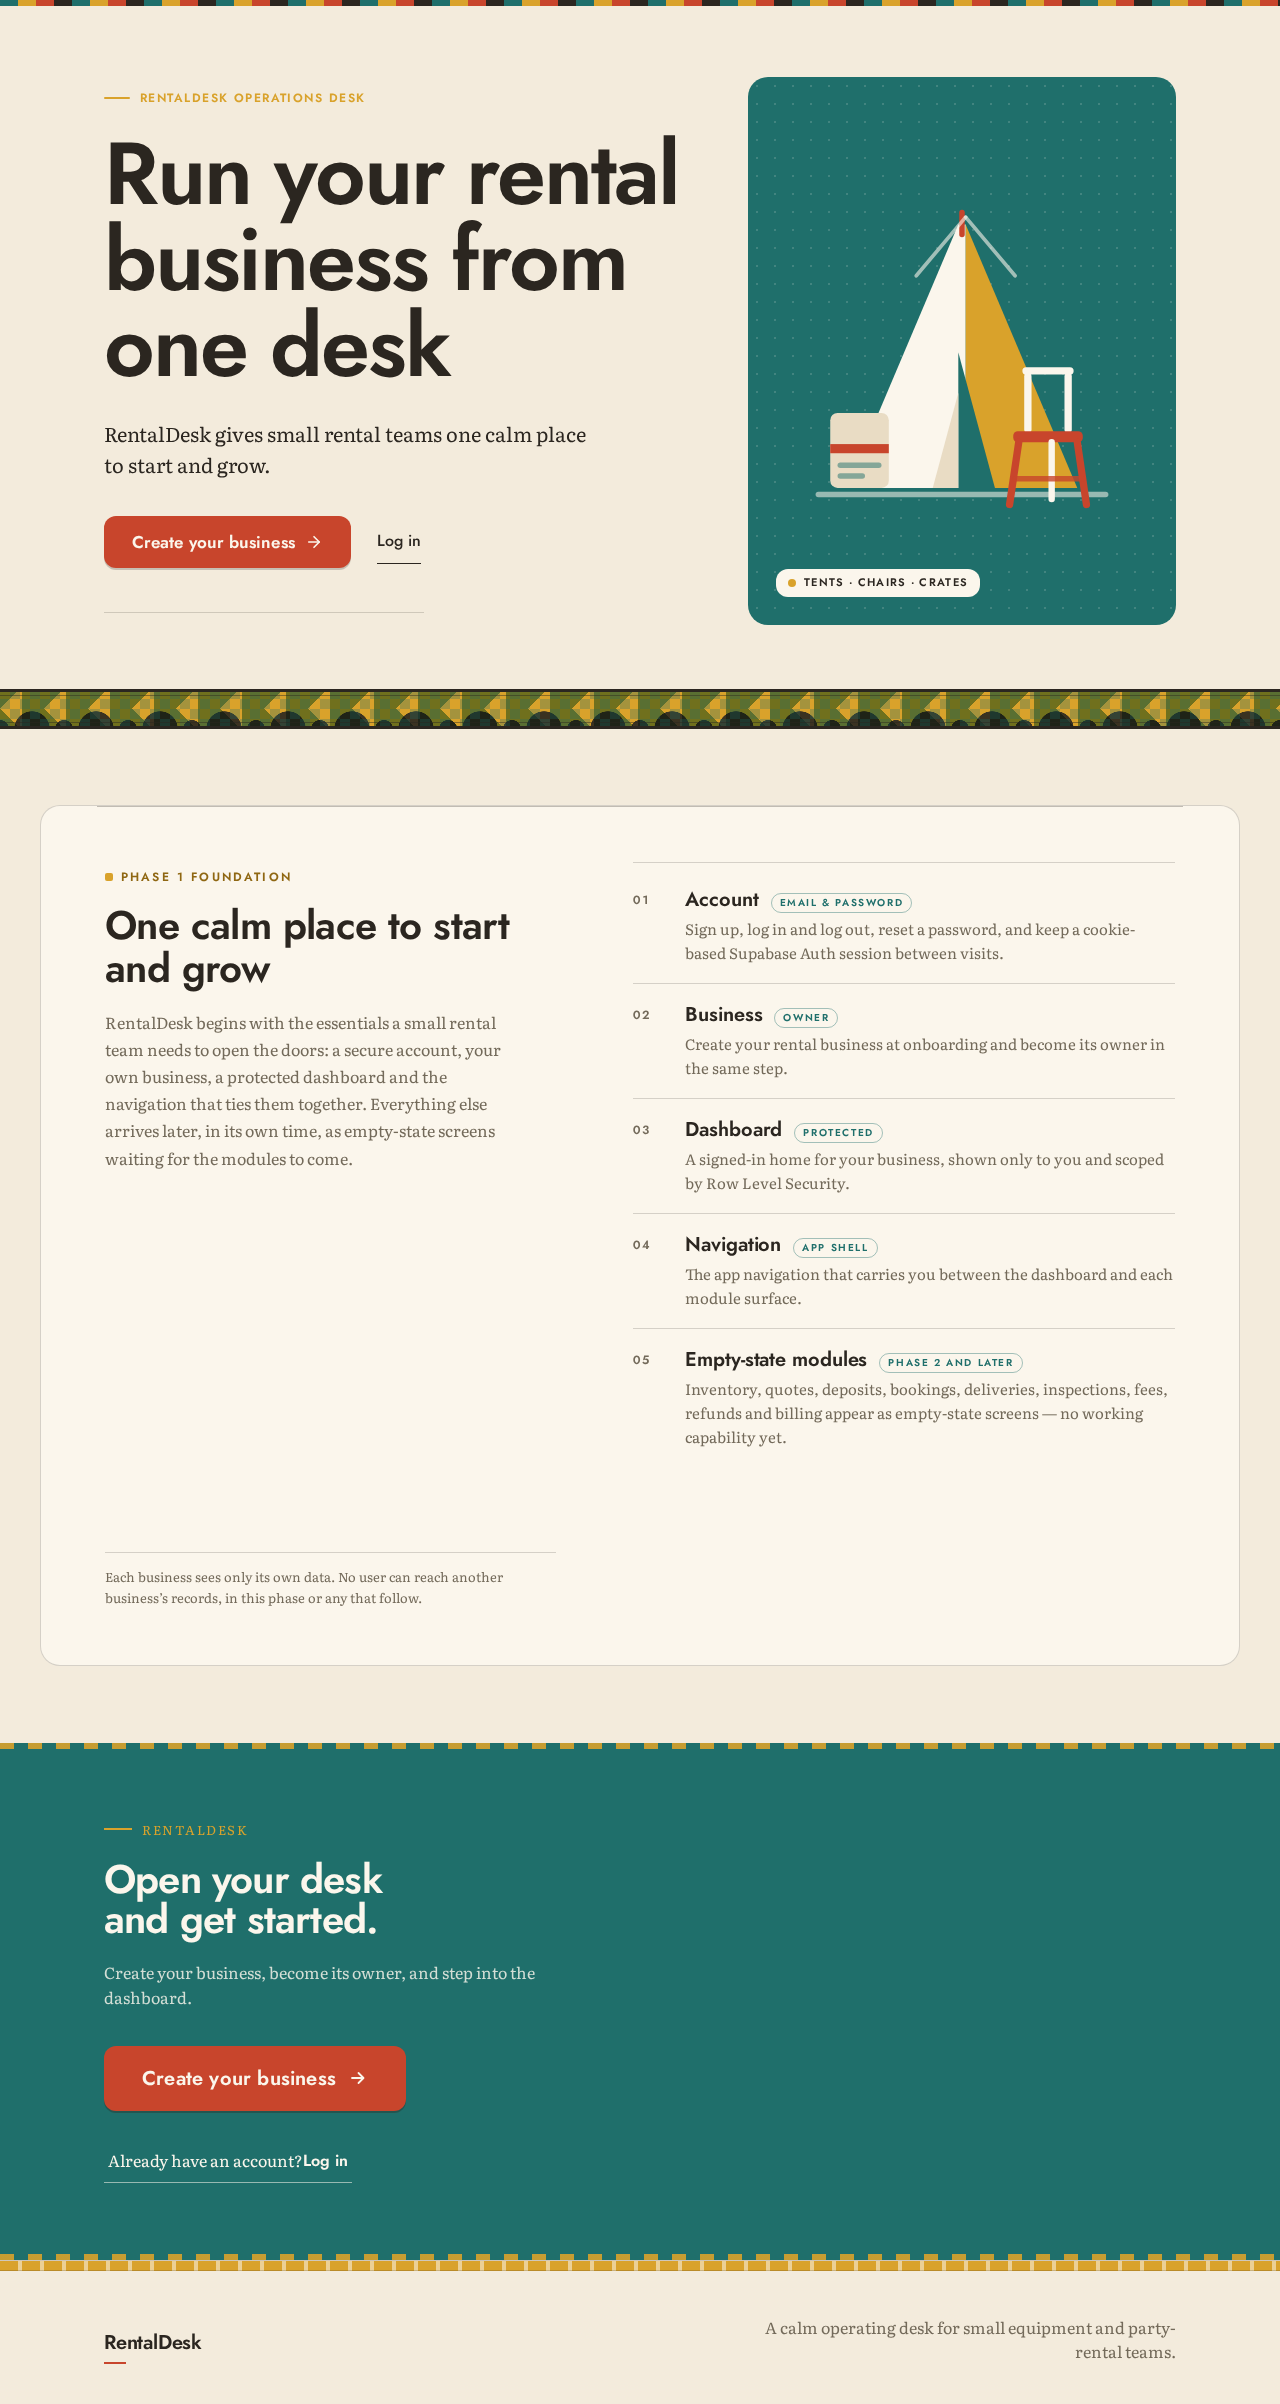
Run your rental business from one desk
RentalDesk gives small rental teams one calm place to start and grow.
Tents · chairs · crates
Phase 1 foundation
One calm place to start and grow
RentalDesk begins with the essentials a small rental team needs to open the doors: a secure account, your own business, a protected dashboard and the navigation that ties them together. Everything else arrives later, in its own time, as empty-state screens waiting for the modules to come.
AccountEmail & password
Sign up, log in and log out, reset a password, and keep a cookie-based Supabase Auth session between visits.
BusinessOwner
Create your rental business at onboarding and become its owner in the same step.
DashboardProtected
A signed-in home for your business, shown only to you and scoped by Row Level Security.
NavigationApp shell
The app navigation that carries you between the dashboard and each module surface.
Empty-state modulesPhase 2 and later
Inventory, quotes, deposits, bookings, deliveries, inspections, fees, refunds and billing appear as empty-state screens — no working capability yet.
Each business sees only its own data. No user can reach another business’s records, in this phase or any that follow.
RentalDesk
Open your desk and get started.
Create your business, become its owner, and step into the dashboard.
RentalDesk operations desk
Run your rental business from one desk
RentalDesk gives small rental teams one calm place to start and grow.
Tents · chairs · crates
Phase 1 foundation
One calm place to start and grow
RentalDesk begins with the essentials a small rental team needs to open the doors: a secure account, your own business, a protected dashboard and the navigation that ties them together. Everything else arrives later, in its own time, as empty-state screens waiting for the modules to come.
AccountEmail & password
Sign up, log in and log out, reset a password, and keep a cookie-based Supabase Auth session between visits.
BusinessOwner
Create your rental business at onboarding and become its owner in the same step.
DashboardProtected
A signed-in home for your business, shown only to you and scoped by Row Level Security.
NavigationApp shell
The app navigation that carries you between the dashboard and each module surface.
Empty-state modulesPhase 2 and later
Inventory, quotes, deposits, bookings, deliveries, inspections, fees, refunds and billing appear as empty-state screens — no working capability yet.
Each business sees only its own data. No user can reach another business’s records, in this phase or any that follow.
RentalDesk
Open your desk and get started.
Create your business, become its owner, and step into the dashboard.
No comments yet. Be the first!