%22%20%2F%3E%0A%20%20%20%20%3Ccircle%20cx%3D%2277%22%20cy%3D%22113%22%20r%3D%2235%22%20fill%3D%22%238a6a4b%22%20opacity%3D%220.45%22%20%2F%3E%0A%20%20%20%20%3Cpath%20d%3D%22M0%20159%20Q%20160%20107%20320%20137%22%20stroke%3D%22%238a6a4b%22%20stroke-width%3D%223%22%20fill%3D%22none%22%20opacity%3D%220.6%22%20%2F%3E%0A%20%20%20%20%3Crect%20x%3D%2249%22%20y%3D%22159%22%20width%3D%2241%22%20height%3D%2241%22%20fill%3D%22%238a6a4b%22%20opacity%3D%220.3%22%20transform%3D%22rotate(23%20160%20120)%22%20%2F%3E%0A%20%20%3C%2Fsvg%3E) Traditional
Traditionalvast
by krishna vardhana
krishna vardhanaBuild a complete, functional Neural Networks & Deep Learning mini-project called: # VAST — Visual Art & Style Transfer Studio **Tagline:** “Transform structure into expression.” VAST is a minimalist web application that uses a REAL deep-learning neural style transfer model to transform a content image using the visual style of another image. ## 1. CORE REQUIREMENT This must be a genuine Deep Learning project, NOT a fake AI interface. Pipeline: **Content Image + Style Image → Neural Network → Stylized Image** Use **Fast Neural Style Transfer** with PyTorch. The implementation should demonstrate: * CNNs * Transfer learning * VGG feature extraction * Content/style representations * Perceptual loss * Content loss * Style loss * Total variation loss * Instance Normalization * Residual blocks * Feed-forward transformation network * Training and inference Do NOT use CSS filters, simple image blending, OpenCV artistic effects, random transformations, or external AI APIs as the main implementation. ## 2. NEURAL NETWORK Implement a feed-forward image transformation network: Input → Convolution → Instance Normalization → Activation → Encoder layers → Residual Blocks → Upsampling → Convolution → Output Image Use a pretrained **VGG network from torchvision** as the perceptual feature extractor. Implement separate: * Content loss * Style loss using Gram matrices * Total variation loss The project must contain actual training code and inference code. Support pretrained transformation weights so the demo can run without training from scratch. If weights are not included, provide clear instructions for exactly where to place them. Never create fake weights or fake results. ## 3. USER INTERFACE Create a premium, minimalist creative studio rather than a typical college ML dashboard. Design: * Lots of whitespace * Elegant typography * Subtle borders * Minimal shadows * One restrained accent color * Large image previews * Smooth transitions * No neon * No excessive gradients * No clutter Landing page: **VAST** Visual Art & Style Transfer Studio “Transform structure into expression.” Short description **ENTER STUDIO** ## 4. STUDIO Allow users to: 1. Upload a Content Image 2. Upload a Style Image OR choose a predefined style 3. Generate the stylized result 4. Compare Original vs Generated using a before/after slider 5. Download the generated image 6. Generate again or start a new creation Supported formats: JPG, JPEG, PNG, WEBP. ## 5. CONTROLS Include: **Style Strength — 0 to 100** Controls how strongly the style is applied. **Content Preservation — 0 to 100** Controls how strongly the original image structure is retained. **Architectural Mode — ON/OFF** When enabled, prioritize preservation of architectural geometry, edges, windows, doors, columns, rooflines and perspective. This must affect processing rather than being a decorative toggle. **Output Resolution** 512×512 768×768 1024×1024 Every control must genuinely affect processing where technically possible. ## 6. STYLE LIBRARY Include categories such as: Traditional: * Warli-inspired * Tanjore-inspired * Kalamkari-inspired * Madhubani-inspired Painting: * Impressionist * Watercolor * Oil * Ink Wash Architecture: * Heritage Sketch * Architectural Watercolor * Blueprint-inspired * Ink Architecture Modern: * Geometric * Abstract * Minimal Monochrome * Editorial Illustration Use “inspired” wording where appropriate and do not claim cultural authenticity. ## 7. RESULTS After generation show: * Generated image * Inference time * CPU/CUDA device * Output resolution * Download button Do not fabricate performance numbers or progress percentages. Show real processing status while inference is running. ## 8. ARCHITECTURAL MODE Architectural Mode should use actual image-processing/model logic to improve structure preservation. Possible approach: * Stronger content/perceptual loss * Edge-aware processing * Higher content feature weighting Do not pretend this is a separate trained architecture unless it actually is. ## 9. EDUCATIONAL SECTION Add a page/section titled: **How the Neural Network Works** Explain visually: 1. Content representation 2. Style representation 3. VGG feature extraction 4. Transformation network 5. Residual blocks 6. Instance normalization 7. Perceptual loss 8. Final stylized image Also display a clean neural-network architecture diagram. ## 10. TRAINING MODULE Include actual training code with: * Dataset loading * Image preprocessing * Transformation network * VGG feature extractor * Content loss * Style loss * Total variation loss * Optimizer * Training loop * Checkpoints * Configurable hyperparameters Training must be separate from inference. ## 11. PERFORMANCE Automatically detect: * CPU * CUDA GPU when available Use efficient inference: * model.eval() * torch.no_grad() * batch size 1 * sensible image resizing The application must work on CPU if CUDA is unavailable. Do not claim real-time performance unless measured. ## 12. TECH STACK Use: * Python 3.12.10 * PyTorch * torchvision * Pillow * OpenCV where necessary * Streamlit OR FastAPI + HTML/CSS/JS Prefer the simplest reliable framework. The project must run locally on: **Windows 11 + VS Code** No paid APIs or cloud services should be required. Avoid dependencies that require Python 3.13/3.14. ## 13. PROJECT STRUCTURE Create a clean structure similar to: VAST/ ├── app/ │ └── app.py ├── models/ │ ├── transformer.py │ ├── vgg.py │ └── model_loader.py ├── training/ │ ├── train.py │ ├── losses.py │ └── dataset.py ├── inference/ │ ├── stylize.py │ └── preprocess.py ├── data/ │ ├── content/ │ └── styles/ ├── model_weights/ ├── outputs/ ├── utils/ ├── requirements.txt ├── README.md └── run.py You may modify the structure if necessary, but keep it organized. ## 14. ERROR HANDLING Handle: * Invalid images * Unsupported formats * Missing model weights * CUDA unavailable * Oversized images * Memory errors * Inference failures Show friendly UI messages instead of raw tracebacks. ## 15. README Provide complete Windows PowerShell instructions: python --version python -m venv .venv .venv\Scripts\Activate.ps1 python -m pip install --upgrade pip pip install -r requirements.txt Then give the exact command to launch the application. Explain: * Project purpose * Neural network architecture * Loss functions * Dataset/training process * How to add model weights * How inference works * CPU/GPU support * Limitations * Future improvements ## 16. ACADEMIC PURPOSE The project should clearly demonstrate the difference between traditional optimization-based Neural Style Transfer and Fast Neural Style Transfer. Explain that traditional NST repeatedly optimizes an image, while the feed-forward model learns a transformation network so inference can be performed in a single forward pass after training. Do not invent accuracy, FPS, training time, or benchmark results. ## 17. FINAL REQUIREMENT Actually implement the project. Do not only provide a description or mockup. If you cannot create files directly, provide complete file-by-file code. The final result must be: **Functional + technically correct + visually polished + academically explainable + locally runnable in VS Code.** Priority order: 1. Real Deep Learning implementation 2. Correct inference 3. Reliable local setup 4. Clean code 5. Academic explainability 6. Minimalist premium UI 7. Visual polish At the end provide: * Files created * Dependencies * Installation commands * Run command * Model-weight requirements * Short explanation of the neural network * Known limitations * Recommended next step


Comments (0)
Sign in to leave a comment
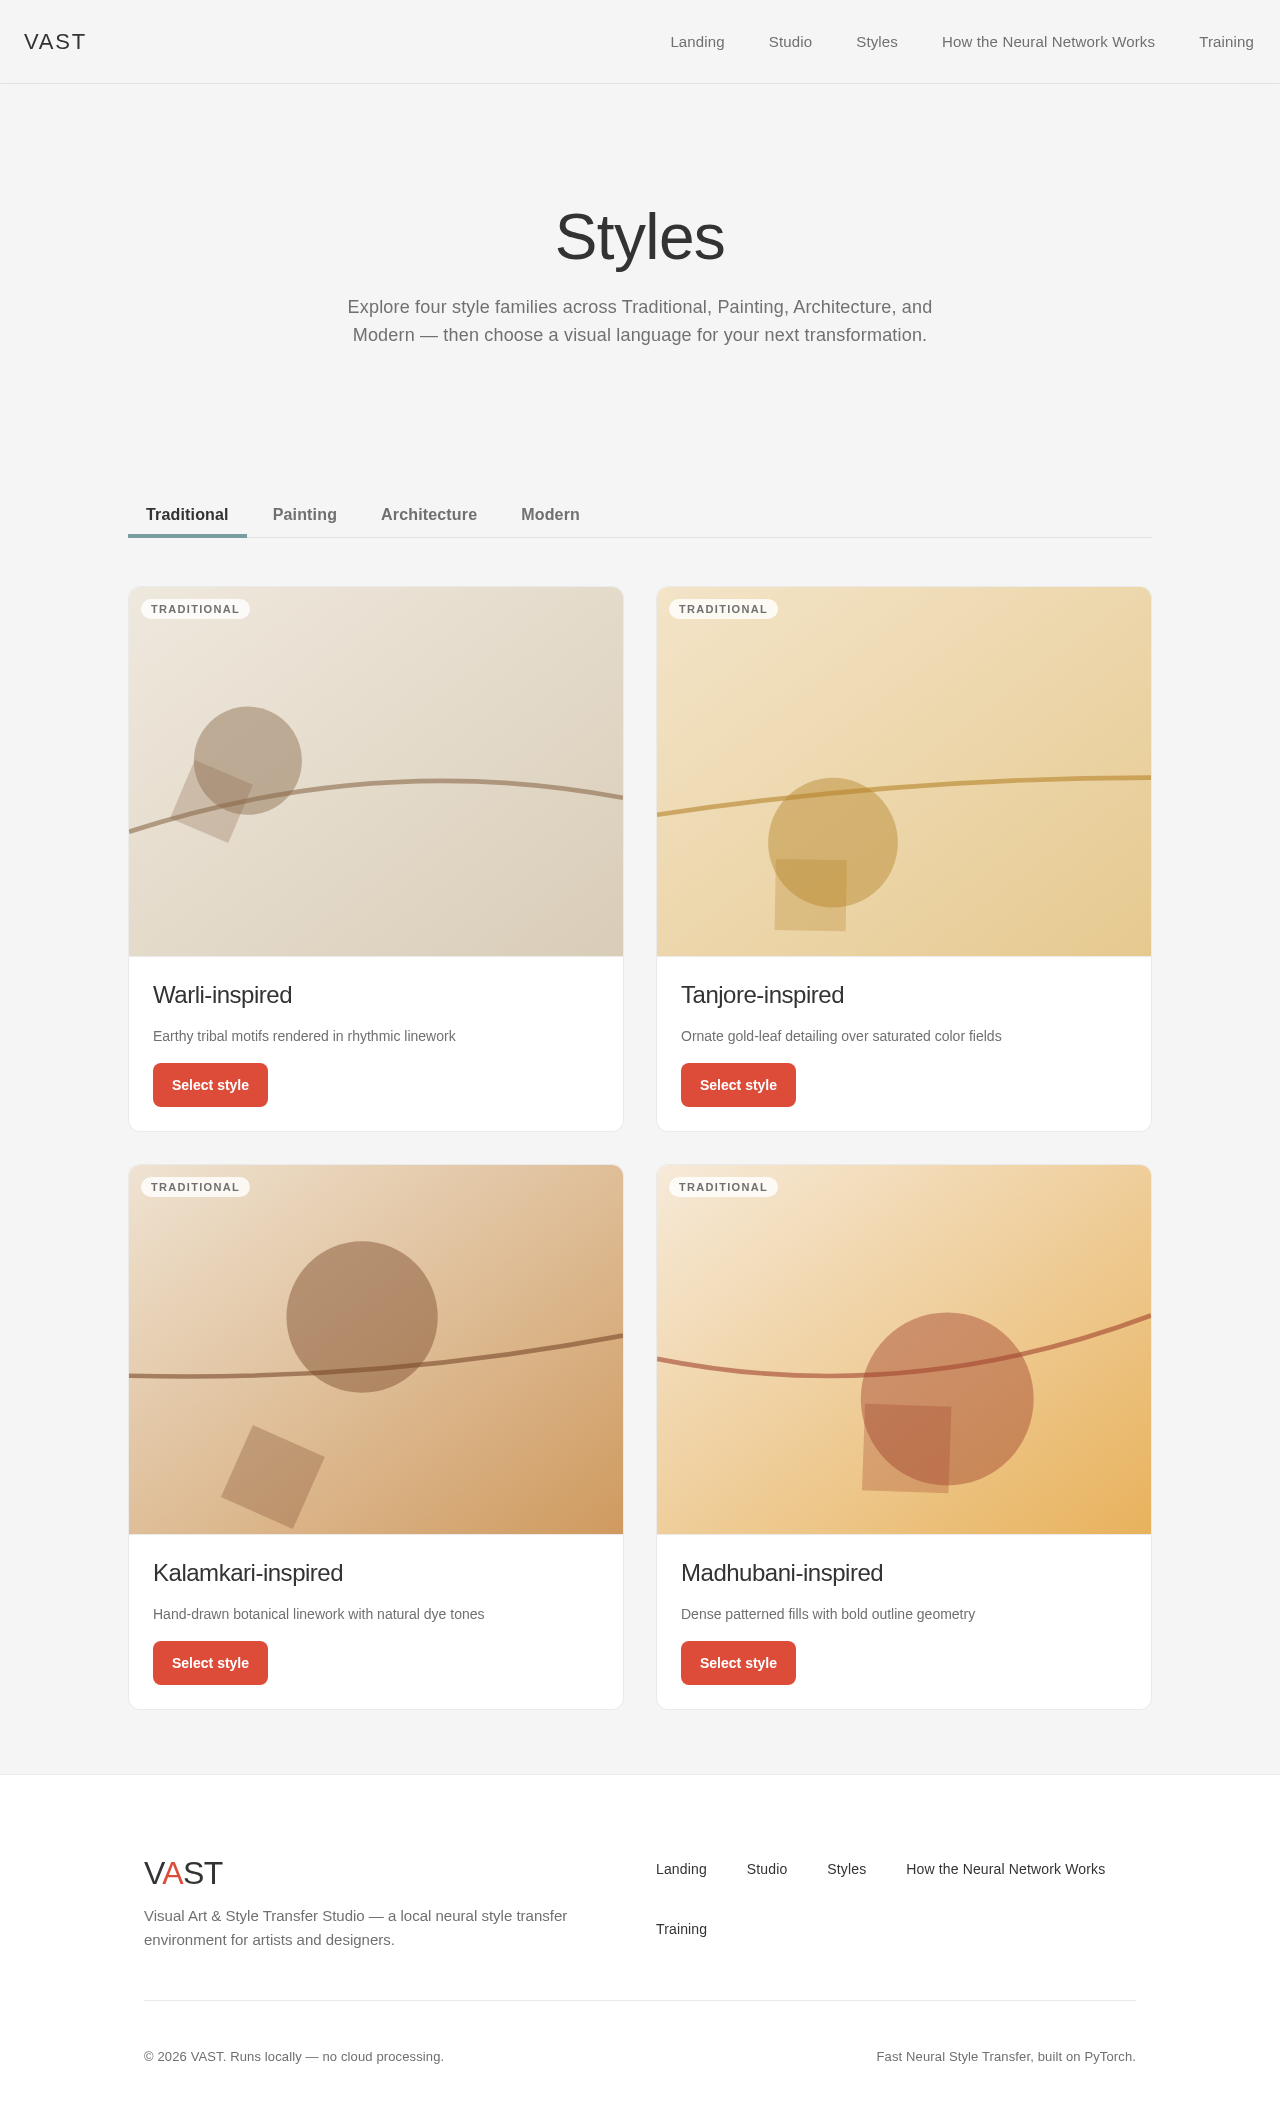
Styles
Explore four style families across Traditional, Painting, Architecture, and Modern — then choose a visual language for your next transformation.
Traditional%22%20%2F%3E%0A%20%20%20%20%3Ccircle%20cx%3D%22114%22%20cy%3D%22166%22%20r%3D%2242%22%20fill%3D%22%23b5842a%22%20opacity%3D%220.45%22%20%2F%3E%0A%20%20%20%20%3Cpath%20d%3D%22M0%20148%20Q%20160%20124%20320%20124%22%20stroke%3D%22%23b5842a%22%20stroke-width%3D%223%22%20fill%3D%22none%22%20opacity%3D%220.6%22%20%2F%3E%0A%20%20%20%20%3Crect%20x%3D%2278%22%20y%3D%22178%22%20width%3D%2246%22%20height%3D%2246%22%20fill%3D%22%23b5842a%22%20opacity%3D%220.3%22%20transform%3D%22rotate(1%20160%20120)%22%20%2F%3E%0A%20%20%3C%2Fsvg%3E) Traditional
Traditional%22%20%2F%3E%0A%20%20%20%20%3Ccircle%20cx%3D%22151%22%20cy%3D%2299%22%20r%3D%2249%22%20fill%3D%22%237a4a2b%22%20opacity%3D%220.45%22%20%2F%3E%0A%20%20%20%20%3Cpath%20d%3D%22M0%20137%20Q%20160%20141%20320%20111%22%20stroke%3D%22%237a4a2b%22%20stroke-width%3D%223%22%20fill%3D%22none%22%20opacity%3D%220.6%22%20%2F%3E%0A%20%20%20%20%3Crect%20x%3D%22107%22%20y%3D%22197%22%20width%3D%2251%22%20height%3D%2251%22%20fill%3D%22%237a4a2b%22%20opacity%3D%220.3%22%20transform%3D%22rotate(24%20160%20120)%22%20%2F%3E%0A%20%20%3C%2Fsvg%3E) Traditional
Traditional%22%20%2F%3E%0A%20%20%20%20%3Ccircle%20cx%3D%22188%22%20cy%3D%22152%22%20r%3D%2256%22%20fill%3D%22%23a2452f%22%20opacity%3D%220.45%22%20%2F%3E%0A%20%20%20%20%3Cpath%20d%3D%22M0%20126%20Q%20160%20158%20320%2098%22%20stroke%3D%22%23a2452f%22%20stroke-width%3D%223%22%20fill%3D%22none%22%20opacity%3D%220.6%22%20%2F%3E%0A%20%20%20%20%3Crect%20x%3D%22136%22%20y%3D%22156%22%20width%3D%2256%22%20height%3D%2256%22%20fill%3D%22%23a2452f%22%20opacity%3D%220.3%22%20transform%3D%22rotate(2%20160%20120)%22%20%2F%3E%0A%20%20%3C%2Fsvg%3E) Traditional
Traditional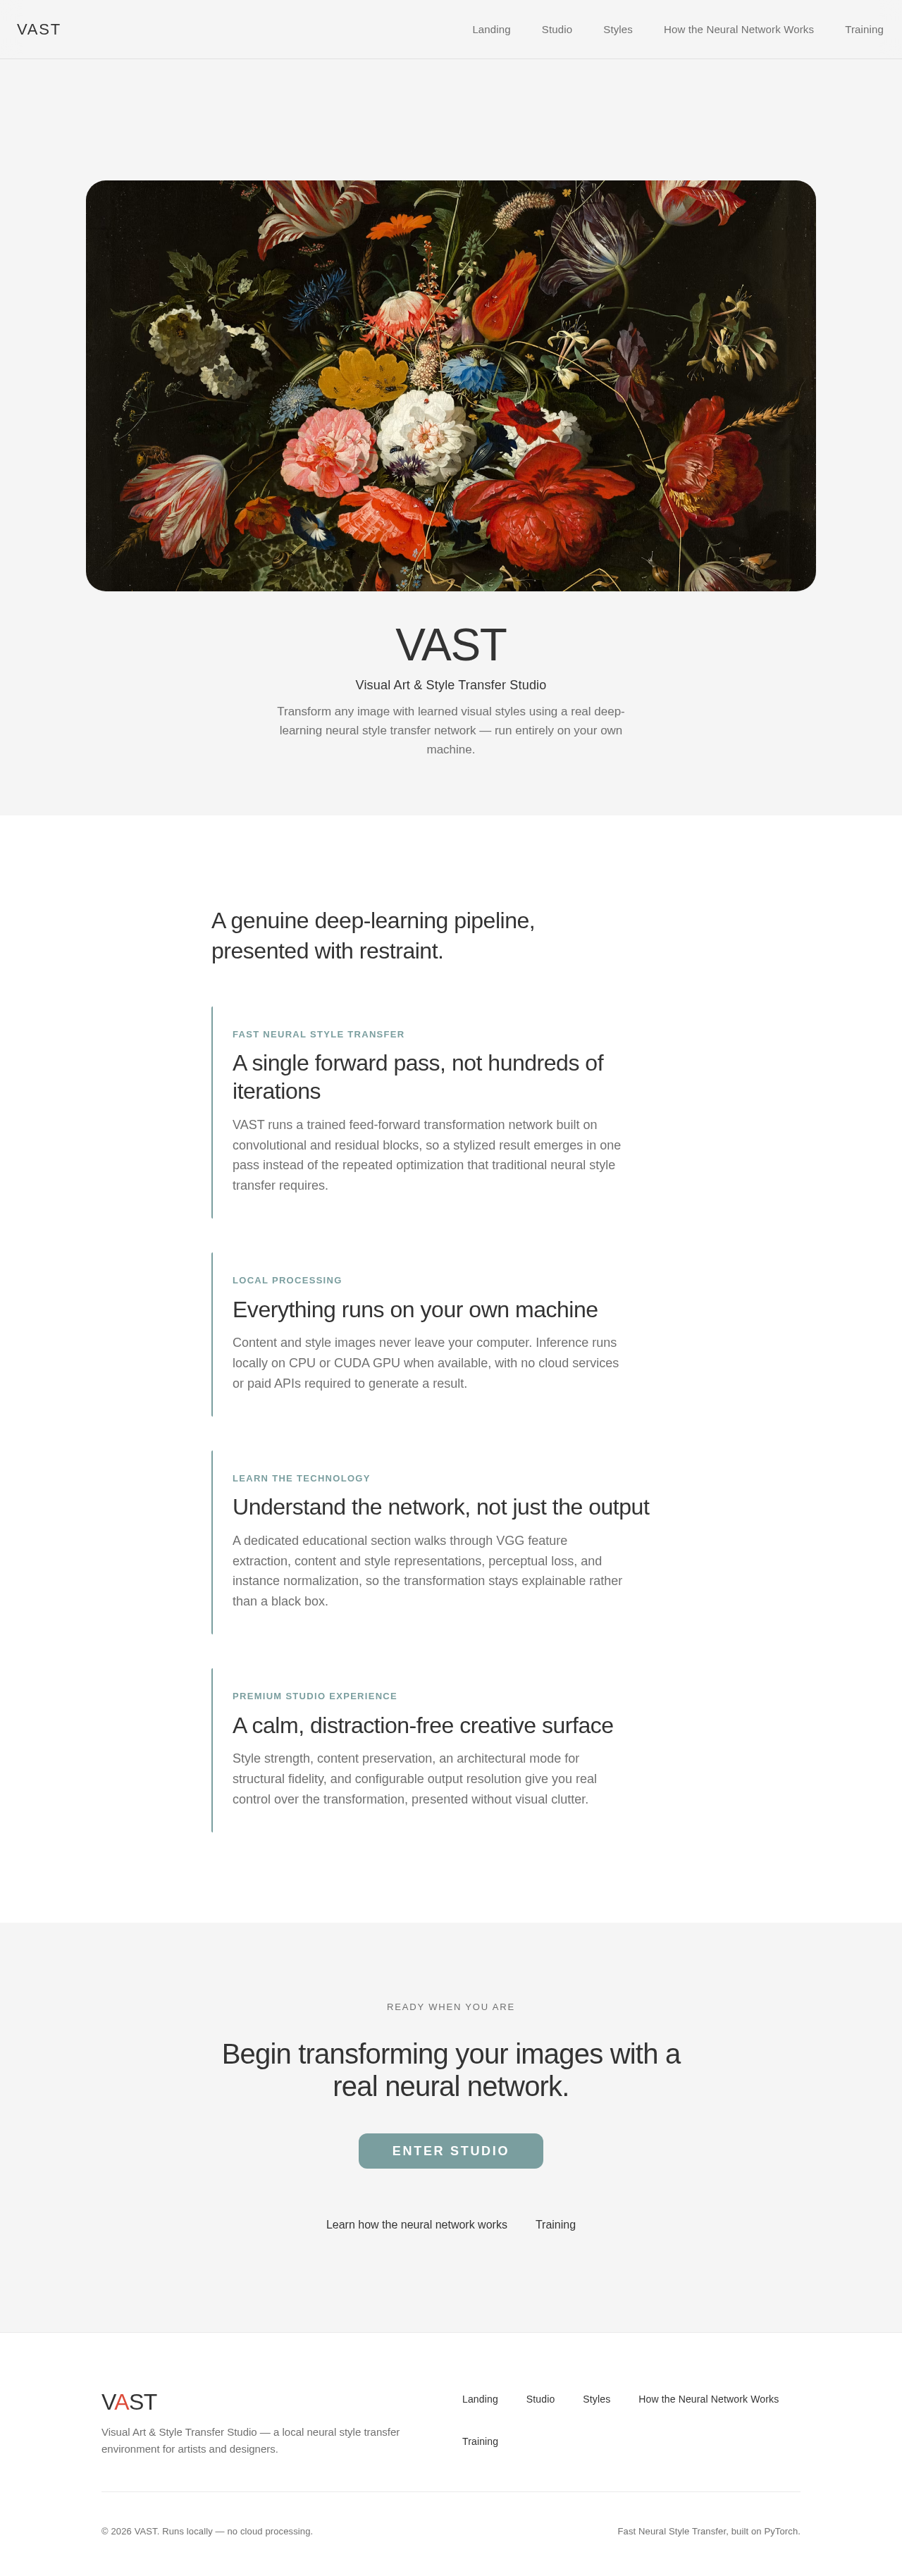

A genuine deep-learning pipeline, presented with restraint.
Fast Neural Style Transfer
A single forward pass, not hundreds of iterations
VAST runs a trained feed-forward transformation network built on convolutional and residual blocks, so a stylized result emerges in one pass instead of the repeated optimization that traditional neural style transfer requires.
Local Processing
Everything runs on your own machine
Content and style images never leave your computer. Inference runs locally on CPU or CUDA GPU when available, with no cloud services or paid APIs required to generate a result.
Learn the Technology
Understand the network, not just the output
A dedicated educational section walks through VGG feature extraction, content and style representations, perceptual loss, and instance normalization, so the transformation stays explainable rather than a black box.
Premium Studio Experience
A calm, distraction-free creative surface
Style strength, content preservation, an architectural mode for structural fidelity, and configurable output resolution give you real control over the transformation, presented without visual clutter.
No comments yet. Be the first!