
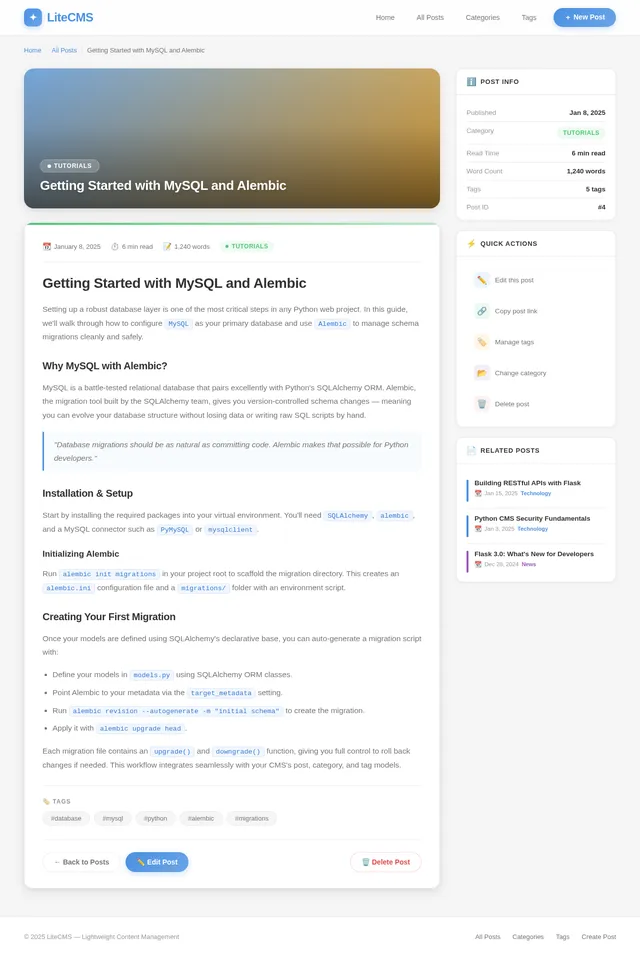
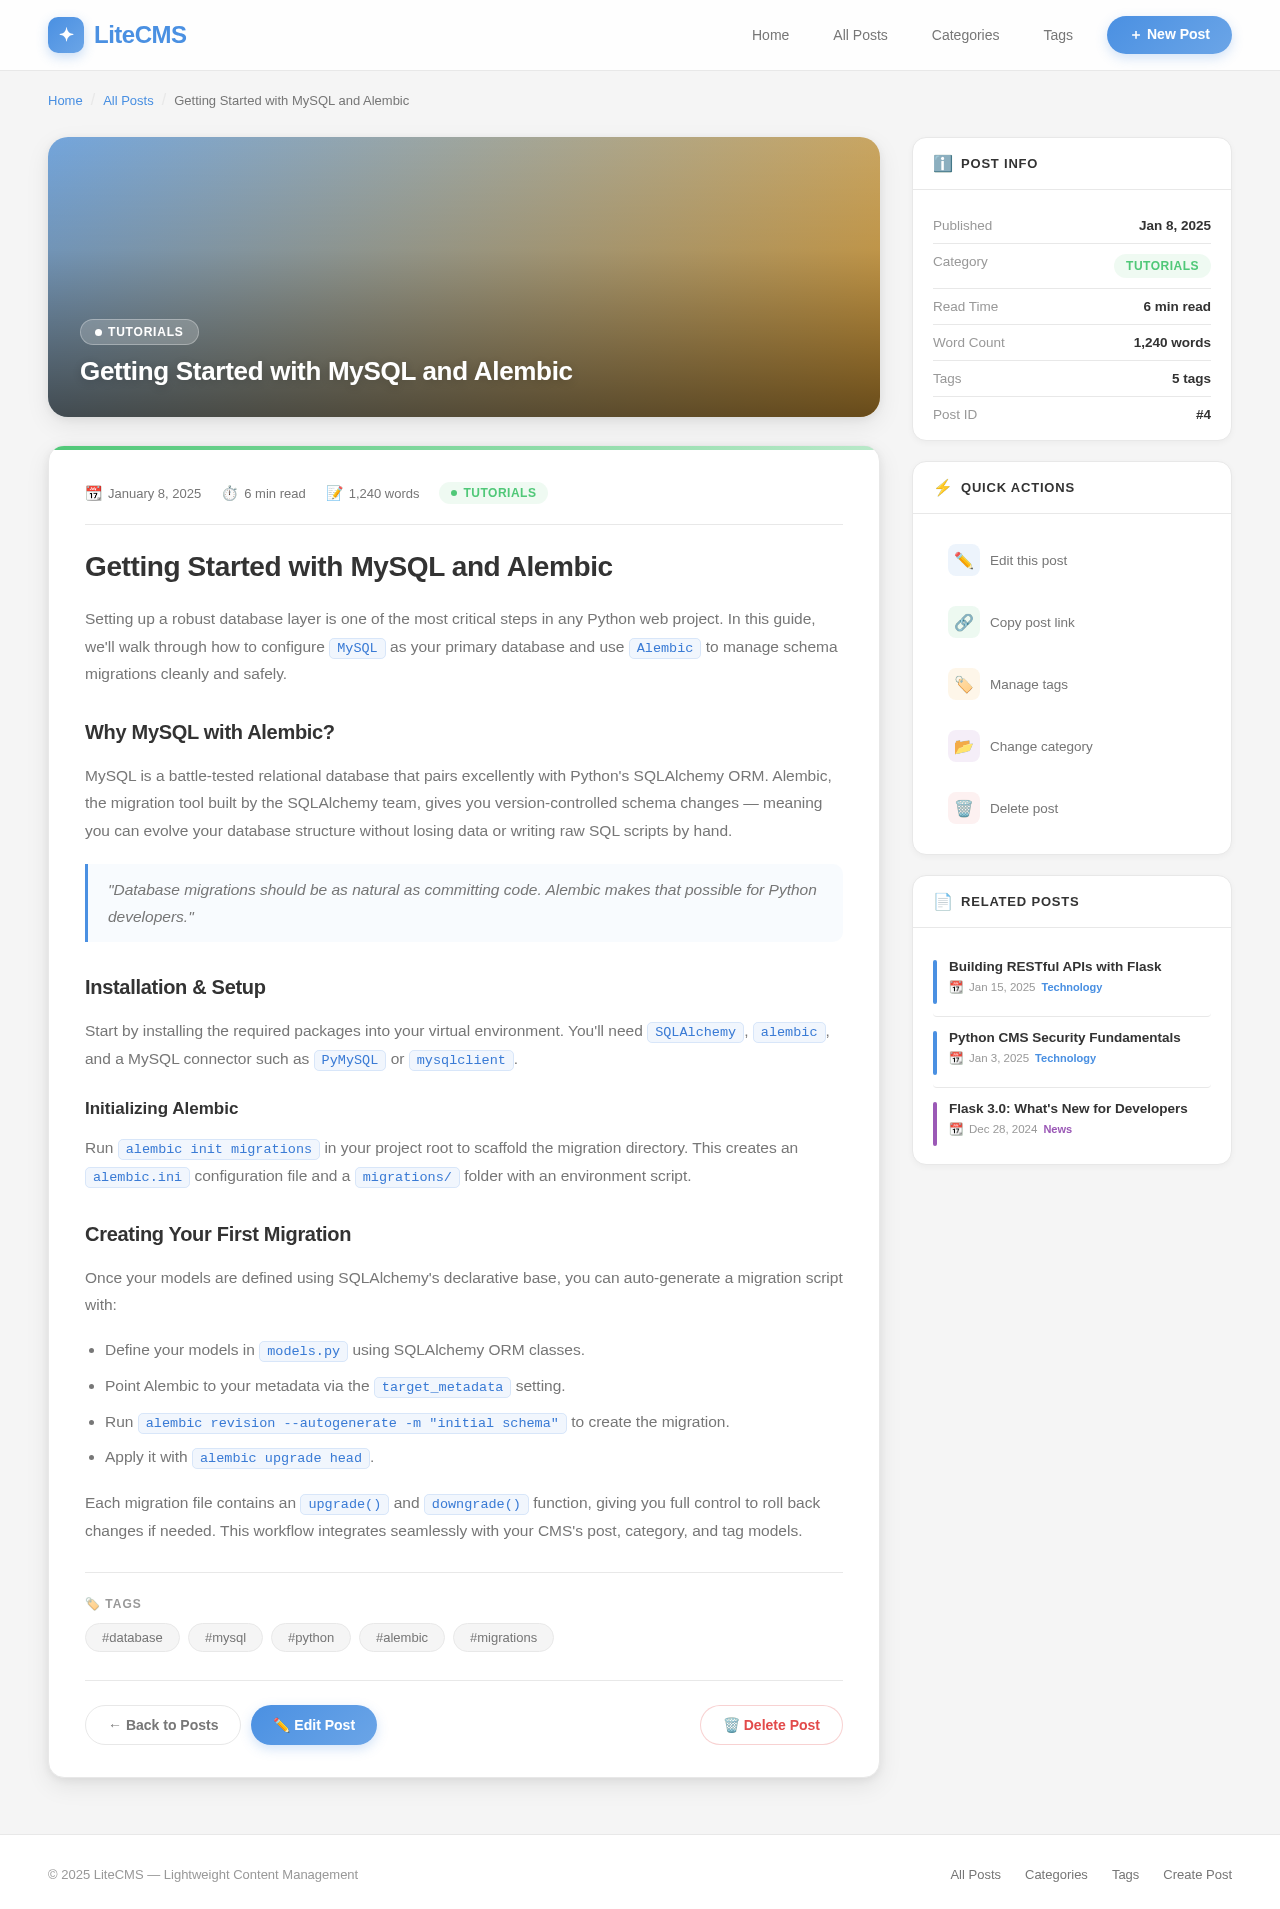
Getting Started with MySQL and Alembic
Setting up a robust database layer is one of the most critical steps in any Python web project. In this guide, we'll walk through how to configure MySQL as your primary database and use Alembic to manage schema migrations cleanly and safely.
Why MySQL with Alembic?
MySQL is a battle-tested relational database that pairs excellently with Python's SQLAlchemy ORM. Alembic, the migration tool built by the SQLAlchemy team, gives you version-controlled schema changes — meaning you can evolve your database structure without losing data or writing raw SQL scripts by hand.
"Database migrations should be as natural as committing code. Alembic makes that possible for Python developers."
Installation & Setup
Start by installing the required packages into your virtual environment. You'll need SQLAlchemy, alembic, and a MySQL connector such as PyMySQL or mysqlclient.
Initializing Alembic
Run alembic init migrations in your project root to scaffold the migration directory. This creates an alembic.ini configuration file and a migrations/ folder with an environment script.
Creating Your First Migration
Once your models are defined using SQLAlchemy's declarative base, you can auto-generate a migration script with:
- Define your models in
models.pyusing SQLAlchemy ORM classes. - Point Alembic to your metadata via the
target_metadatasetting. - Run
alembic revision --autogenerate -m "initial schema"to create the migration. - Apply it with
alembic upgrade head.
Each migration file contains an upgrade() and downgrade() function, giving you full control to roll back changes if needed. This workflow integrates seamlessly with your CMS's post, category, and tag models.
No comments yet. Be the first!