
RedScan

byNaresh Boya

You are an expert senior mobile engineer and backend architect. We are building an MVP for a phone + test strip blood analyzer. The user puts a drop of blood on a disposable paper test strip; the mobile app uses the phone camera to read the strip and show: Blood group (ABO + Rh) Hemoglobin estimate (anemia screening) Basic explanations and disclaimers Your task: design and implement a production-ready MVP with: React Native mobile app (TypeScript preferred). Custom Node.js backend (Express or Fastify) with REST API. Clean architecture, good UX, and clear code that can be extended later. Product requirements Platforms: Start with Android; code should be easy to run on iOS later. Stack: React Native (TypeScript) + Node.js (TypeScript) backend. Core user flows: Onboarding & Auth Simple sign-up / login using email/password (JWT-based auth). Basic profile screen: name, age, sex (optional), saved to backend users table. Show a clear consent & disclaimer screen: “This app is a screening tool, not a substitute for lab tests or medical advice.” Home Big “Start Test” button. List of past tests (date, blood group, Hb value). Test Wizard Multi-step guided flow: “Prepare” – safety and preparation instructions (handwash, clean surface, good light). “Prick & Apply” – diagram/instructions to prick finger and apply 1 drop of blood to the strip’s sample zone. “Wait” – show a countdown timer (e.g., 5 minutes). “Capture” – open camera with: An overlay frame to align the test strip. Real-time lighting check (warn if too dark or too bright). Button to capture image. “Processing” – show spinner while image is uploaded and analyzed. After processing, navigate to Results screen. Results Display: Blood group: large text (e.g., “B+”). Hemoglobin: numeric value with unit (e.g., “11.2 g/dL”) and status: “Low / Normal / High”. Short, plain-language explanation of what the result means. Clear disclaimer: “Not for making treatment or transfusion decisions without confirmation from a certified lab.” Button: “Save & Continue”. History List of previous tests with date/time, blood group, Hb. Tap to view full result details. Option to export as PDF (simple layout: user name, date, results, disclaimers). Option to share PDF via WhatsApp/Email (using React Native share APIs). Education / Info 2–3 static screens: “What is blood group?” “What is hemoglobin and anemia?” “Safety & disclaimers.” Content can be hardcoded or fetched from backend content endpoint. Data model (backend, e.g., PostgreSQL or MongoDB): users table/collection: id (UUID or auto-inc) name (string) age (int, optional) sex (string, optional) email (string, unique) password_hash (string) created_at (timestamp) tests table/collection: id user_id (FK) timestamp (timestamp) blood_group (string, e.g., “B+”) hemoglobin_gdl (numeric/double) hemoglobin_status (string: “low” | “normal” | “high”) image_url (string, optional, link to object storage) confidence_scores (JSON: { "bloodGroup": 0.96, "hemoglobin": 0.89 }) device_info (JSON: model, OS version, app version) calibrations table/collection: id version (int) params_json (JSON) – calibration parameters for Hb and blood group logic. content table/collection (optional): id, title, body, updated_at. Backend API design (Node.js + Express/Fastify): Use TypeScript, structured with routers/controllers/services. Auth: POST /auth/signup – email, password, name → create user, return JWT. POST /auth/login – email, password → return JWT. Protected routes use Authorization: Bearer <token> header. Users: GET /users/me – get current user profile. PUT /users/me – update profile (name, age, sex). Tests: GET /tests – list current user’s tests (paginated). GET /tests/:id – get details of a specific test. POST /tests – create test record (called after analysis). Analysis: POST /analyze – multipart form upload: image (file) deviceInfo (JSON string) Returns: ```json { "bloodGroup": "B+", "hemoglobinGdl": 11.2, "hemoglobinStatus": "low", "confidenceScores": { "bloodGroup": 0.96, "hemoglobin": 0.89 } } ``` Content: GET /content – list education articles (id, title). GET /content/:id – get full article. Calibration: GET /calibrations/latest – return latest calibration params for the app. Image handling: Mobile app captures image and uploads it directly to POST /analyze as multipart/form-data. Backend: Saves image temporarily, runs (or calls) analysis logic, then: Optionally stores image in object storage (e.g., S3-compatible) and saves image_url in tests. For MVP, analysis can be a placeholder function that returns deterministic/mock results based on simple rules, but must be structured so real image-processing/ML can be plugged in later. Mobile app (React Native) requirements: Use TypeScript. State management: React Query (for server state) + Zustand or Context for global UI state (your choice, but keep it simple and consistent). Navigation: React Navigation (stack + bottom tabs). Key libraries: @react-navigation/native, @react-navigation/stack react-native-camera or expo-camera (if using Expo) axios or fetch wrapper for API calls react-native-fs or equivalent for local file handling react-native-share for sharing PDFs react-native-pdf / expo-pdf or a simple HTML-to-PDF approach for PDF export Implement: Auth screens (login/signup). Home screen with test list and “Start Test” button. Test wizard screens (steps, camera, overlay, timer). Results screen bound to analysis API response. History list and detail screen. Education/info screens. Basic settings screen (logout, app version, links to privacy policy & terms). Image capture & preprocessing (mobile): Show live camera preview with: An overlay rectangle to guide strip alignment. Simple brightness estimation from preview frames; if too low/high, show a warning (“Too dark – add more light” / “Too bright – reduce glare”). Allow retaking the image if the user is not satisfied. Compress image reasonably (e.g., JPEG, max width ~1280–1920) before upload to reduce bandwidth. UI/UX guidelines: Clean, medical/health feel: white background, primary color (e.g., blue/teal), large readable fonts. Clear icons and simple language; avoid jargon. All medical claims must be accompanied by disclaimers. Support at least English; structure code so additional languages can be added later (i18n-ready). Architecture & code quality: Mobile: Feature-based folder structure (e.g., features/auth, features/test, features/history, features/education). Separate: UI components Screens API services Types/models Backend: Clear separation: routes, controllers, services, models, middlewares. Use environment variables for DB connection, JWT secret, storage config. Basic input validation (e.g., using zod or joi). Basic error handling middleware (standard error responses). Write: Clear comments for non-trivial logic. User-friendly error messages on mobile for network failures, camera errors, analysis failures. Include: A simple onboarding/tutorial overlay the first time the user opens the app. Security & privacy: Passwords stored as hashes (e.g., bcrypt). JWT-based auth with reasonable expiry. Ensure users can only access their own tests and profile. Add a basic privacy policy screen (text can be placeholder). Do not log sensitive health data in plain text logs. Deliverables from you: Proposed folder structure for: React Native app. Node.js backend. Key code files: Mobile: App.tsx (root, navigation setup, theme). Auth screens (LoginScreen.tsx, SignupScreen.tsx). Home screen (HomeScreen.tsx). Test wizard screens (TestPrepareScreen.tsx, TestCaptureScreen.tsx, etc.). Results screen (ResultsScreen.tsx). History list & detail screens. Education screens. Services: api.ts (base client, interceptors for auth). authApi.ts, testApi.ts, contentApi.ts. pdfService.ts (generate or prepare PDF content). Models/types: User, TestResult, CalibrationParams, API response types. Backend: src/index.ts (Express/Fastify app setup). Route files: auth.routes.ts, test.routes.ts, analyze.routes.ts, content.routes.ts, calibration.routes.ts. Controller/service files for each route group. DB models/schemas (e.g., using Prisma, Sequelize, or Mongoose). Auth middleware (JWT verification). Placeholder analyze.service.ts with a function that: Takes image buffer/path. Returns mock analysis result in the required JSON shape. Example database schema (SQL or Mongoose schemas) for users, tests, calibrations, content. Example environment variables list for backend (.env.example). Short README for: How to install and run the backend locally. How to install and run the mobile app locally. How to configure API base URL in the app. Prioritize: A working, end-to-end flow from login → test → result → history. Clean, understandable code over clever optimizations. Clear separation between UI and backend logic so the analysis implementation can be swapped later (e.g., from simple mock to real image-processing/ML service). Assume this is an MVP that will be tested with real users and real strips in a pilot, so code quality and clarity matter, but we don’t need enterprise-scale complexity yet.

LandingEducationProfileContentHomeTestWizardUsersAdminDashboardHistorySignupResultsCalibrationsLogin
Landing

Comments (0)

No comments yet. Be the first!

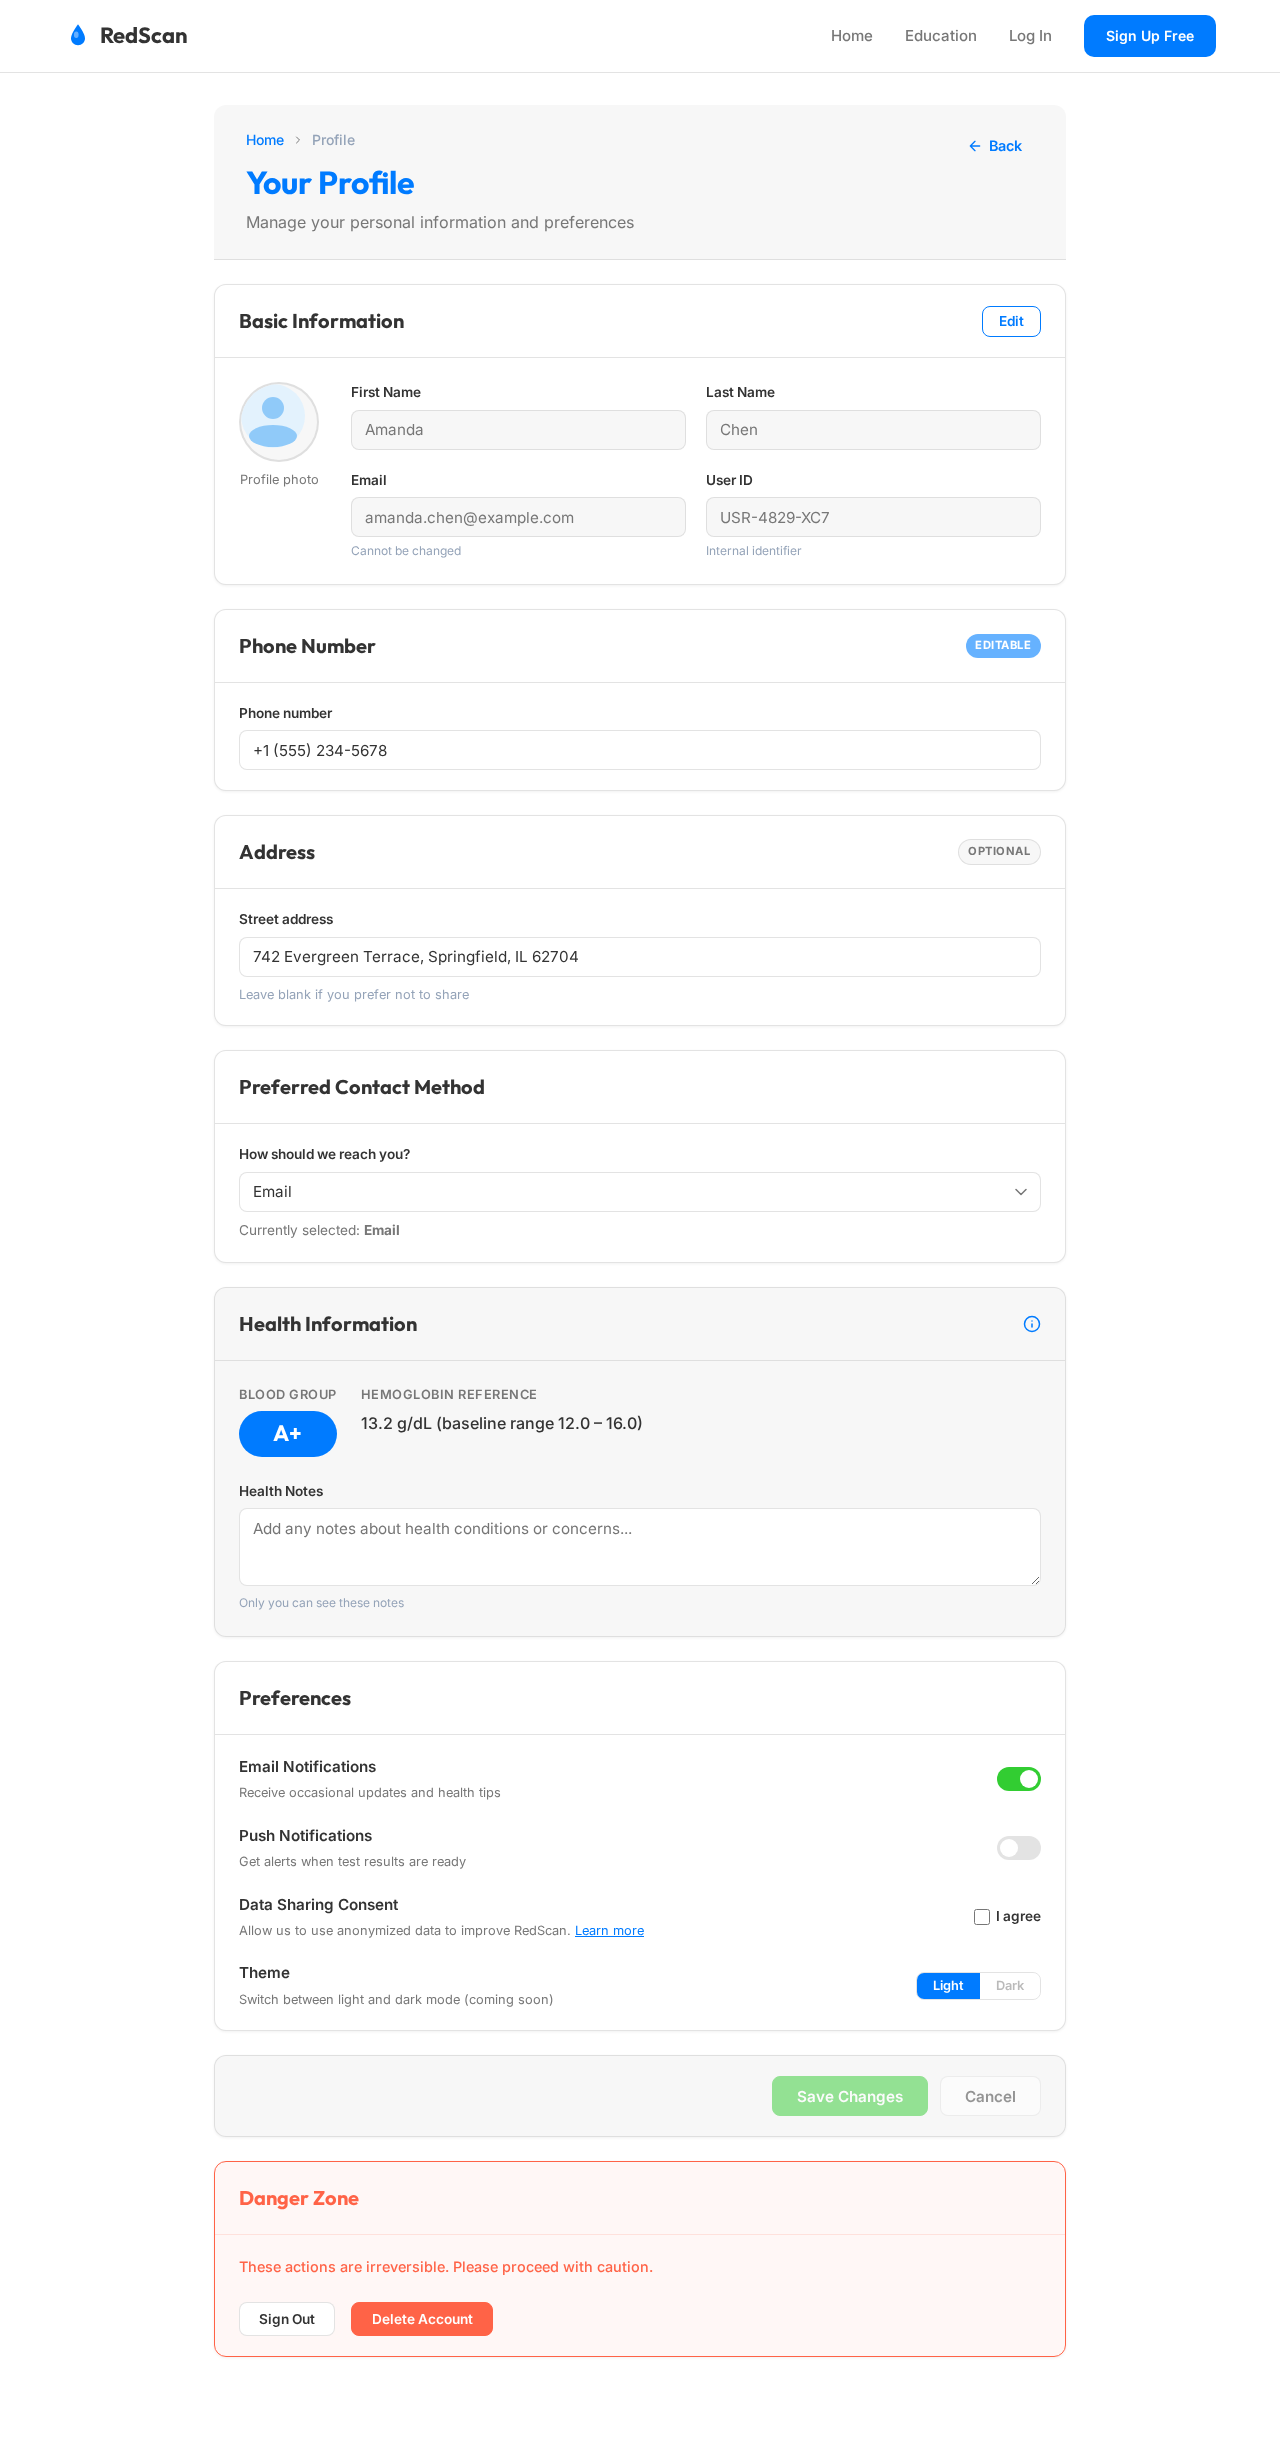
Profile design preview
Login: Sign In
AdminDashboard: View Overview
AdminDashboard: Manage Users
Users: View User Details
AdminDashboard: Manage Calibrations
Calibrations: Update Parameters
AdminDashboard: Manage Content
Content: Edit Article
AdminDashboard: View App Settings
Landing design preview
Login: Sign In
AdminDashboard: View Overview
AdminDashboard: Manage Users
Users: View User Details
AdminDashboard: Manage Calibrations
Calibrations: Update Parameters
AdminDashboard: Manage Content
Content: Edit Article
AdminDashboard: View App Settings